A small handwork project, stitched in transit, finished with beads and a little bit of magic.
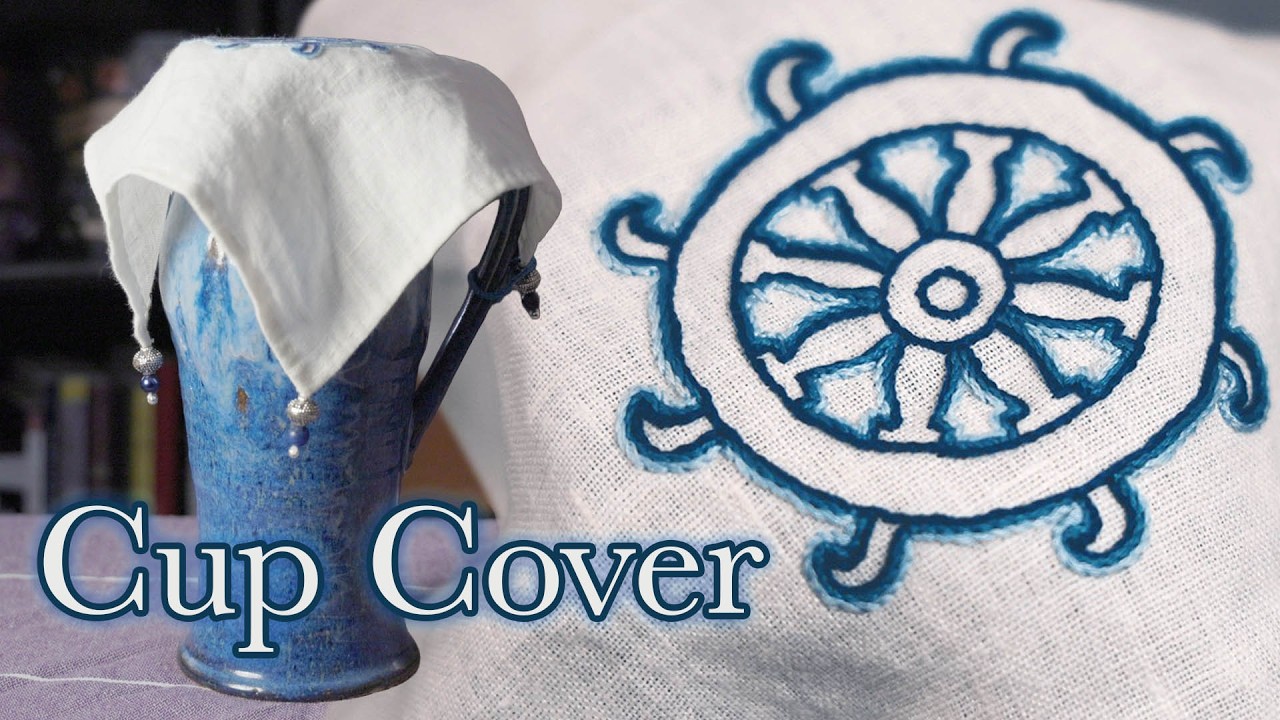
To see this project come together in (not quite) real time, check out the video here:
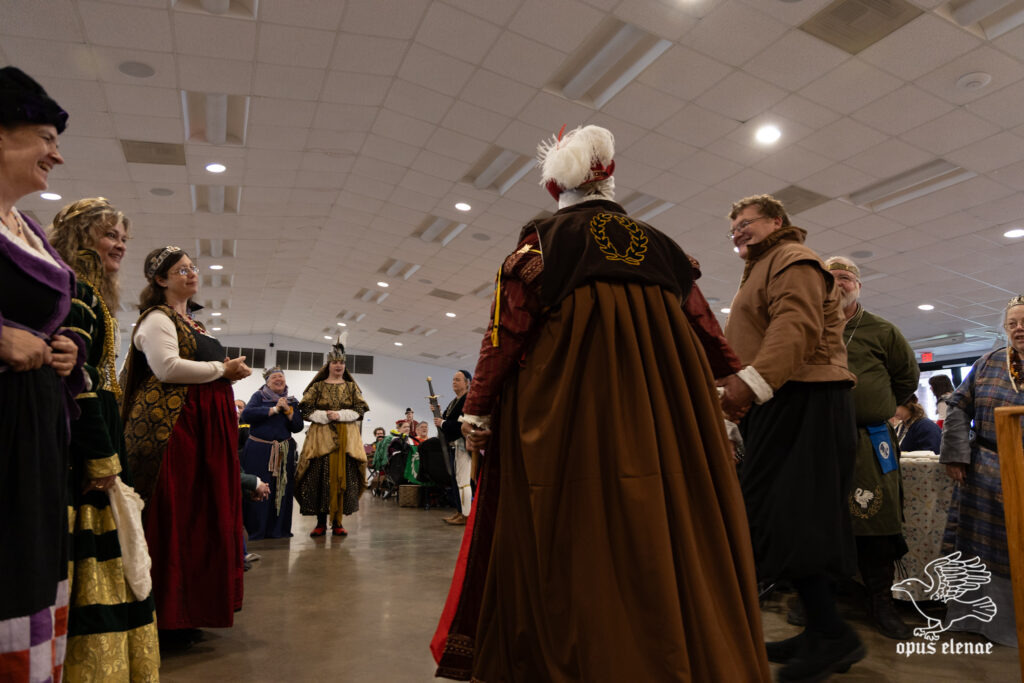
Not too long ago, my friend Kat was elevated to the Laurel—one of the highest recognitions for research and creation in the SCA.
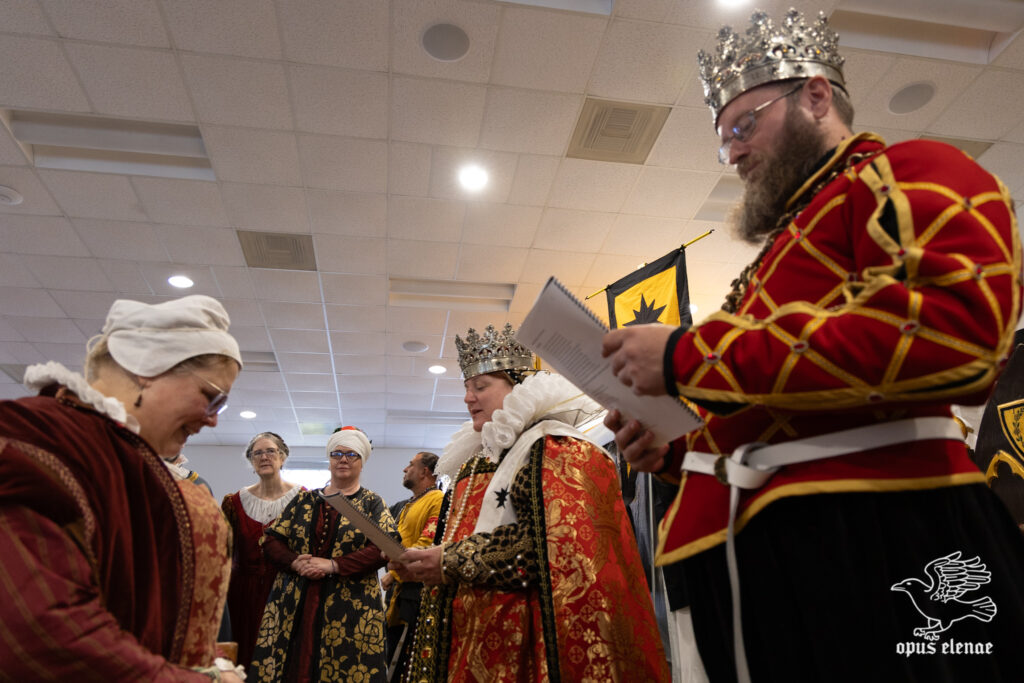
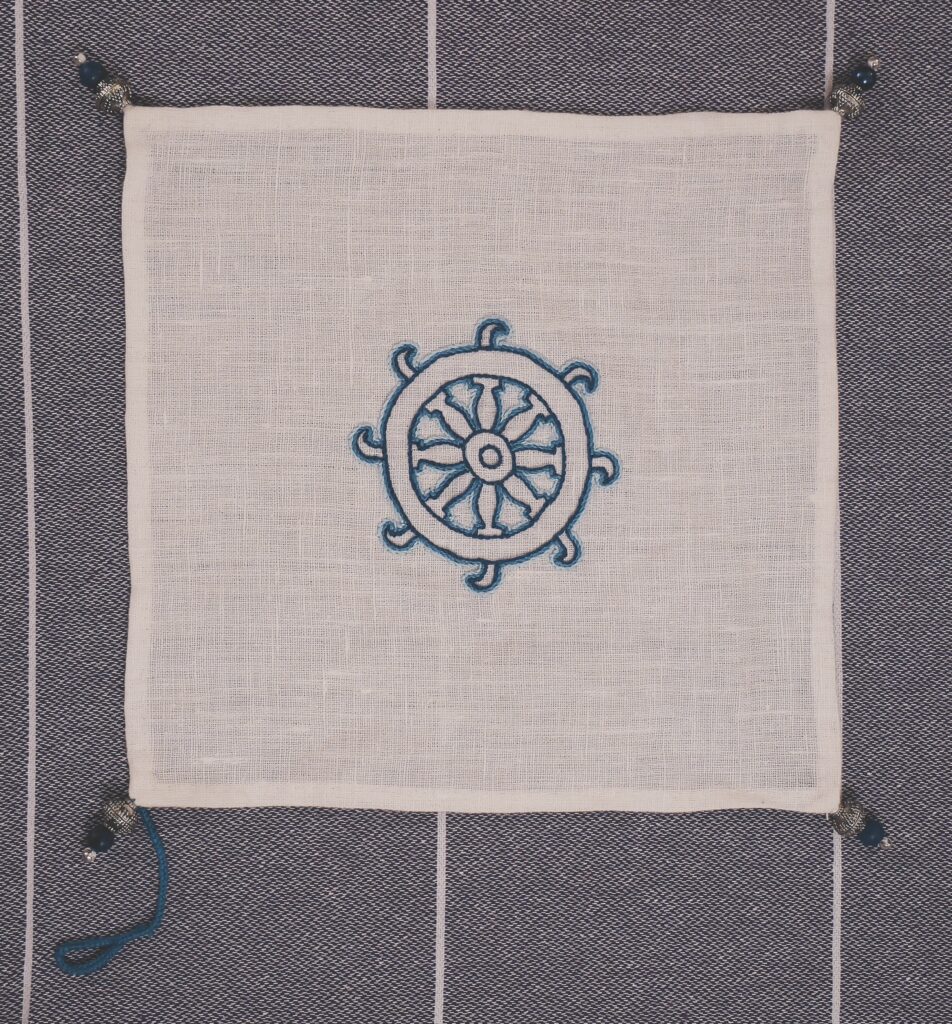
I wasn’t able to finish a gift in time for the ceremony, but I still wanted to mark the moment with something made by hand: a linen cup cover with beaded corners, inspired by the St. Catherine wheels on Kat’s heraldry.
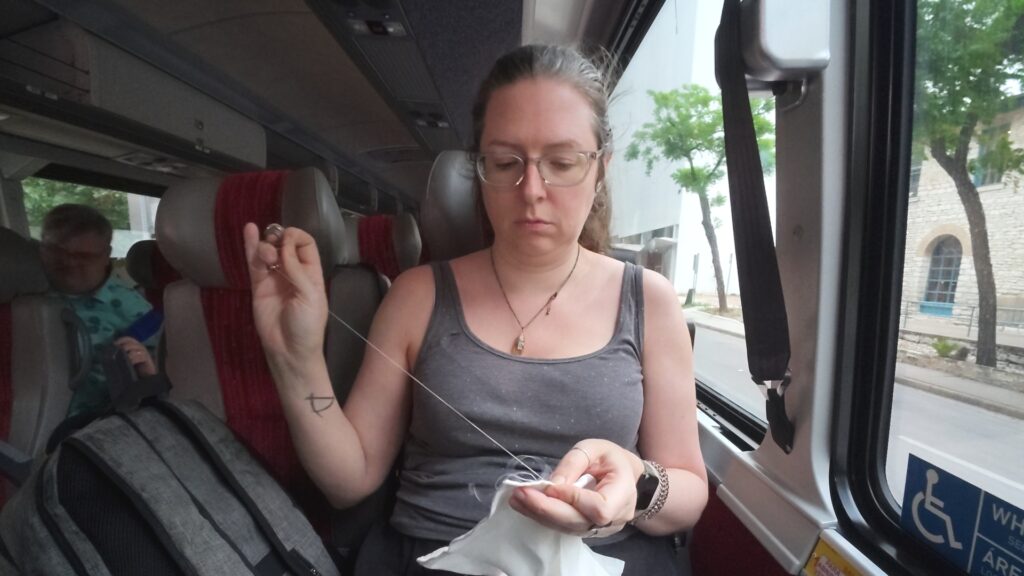
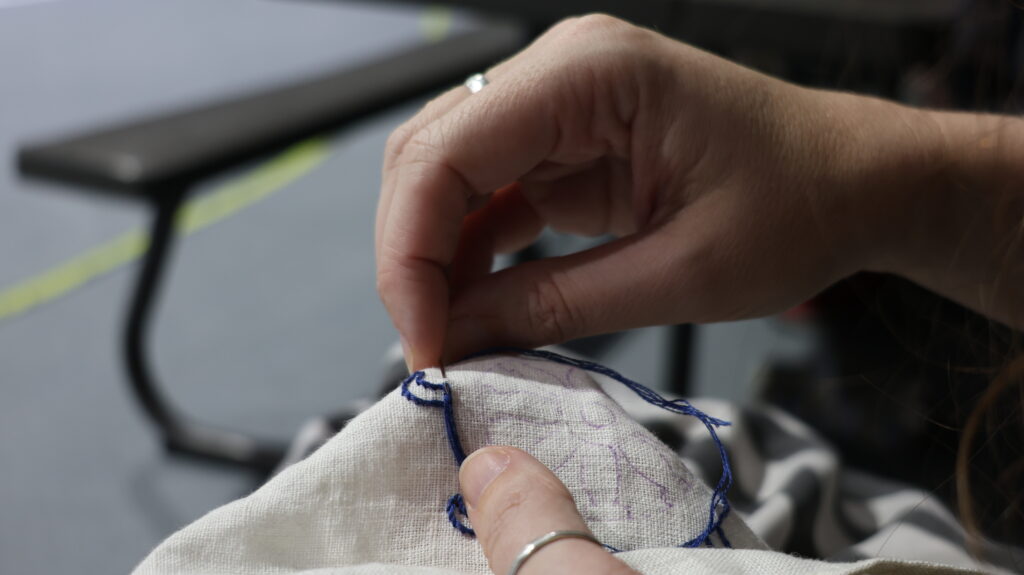
This project also arrived at the exact right moment for me. I’ve been adjusting to going back to work in person, and while I expected an adjustment, I didn’t fully grasp how much of my waking life the commute would take up. On the weeks I can use public transit, though, I get something precious in return: about 45 minutes each way that can become quiet making-time. That’s where this cup cover truly took shape—one stitch at a time, between stops.
I wanted something small enough to live in a pouch and come with me everywhere, sturdy enough to actually be used, and meaningful enough to feel like a celebration.
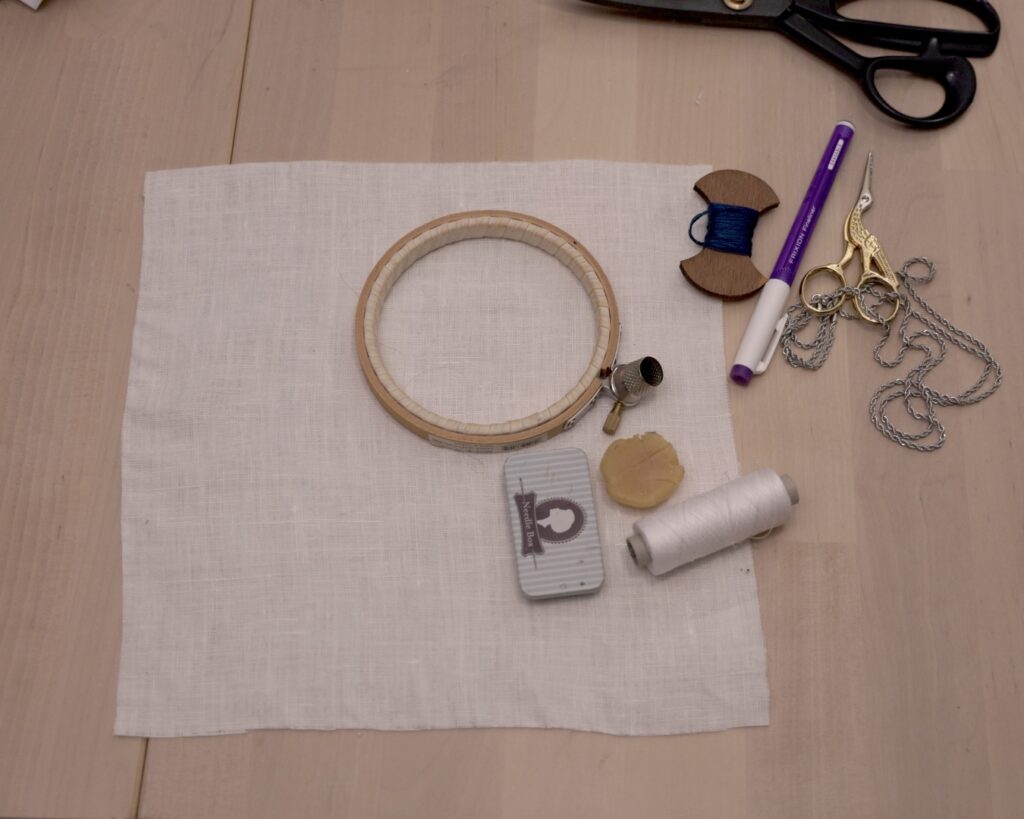
- a 9-inch square of linen
- embroidery floss (I like DMC cotton for small, high-wear projects)
- beads (for weight + sparkle)
- an embroidery hoop (helpful, though this motif was only just hoop-sized)
- hand-sewing notions: needles, scissors, beeswax, and linen thread
For hemming (and most of my hand sewing), I used Burnley & Trowbridge 80/3 linen thread. If you’ve ever wondered what those numbers mean: the “80” refers to thread thickness (higher number = finer thread), and the “3” is the number of plies twisted together. 80/3 lands in that sweet spot of medium-fine and strong.
Before any embroidery, I hemmed the linen with a running stitch. It’s not the flashy part of the project, but it’s the foundation.
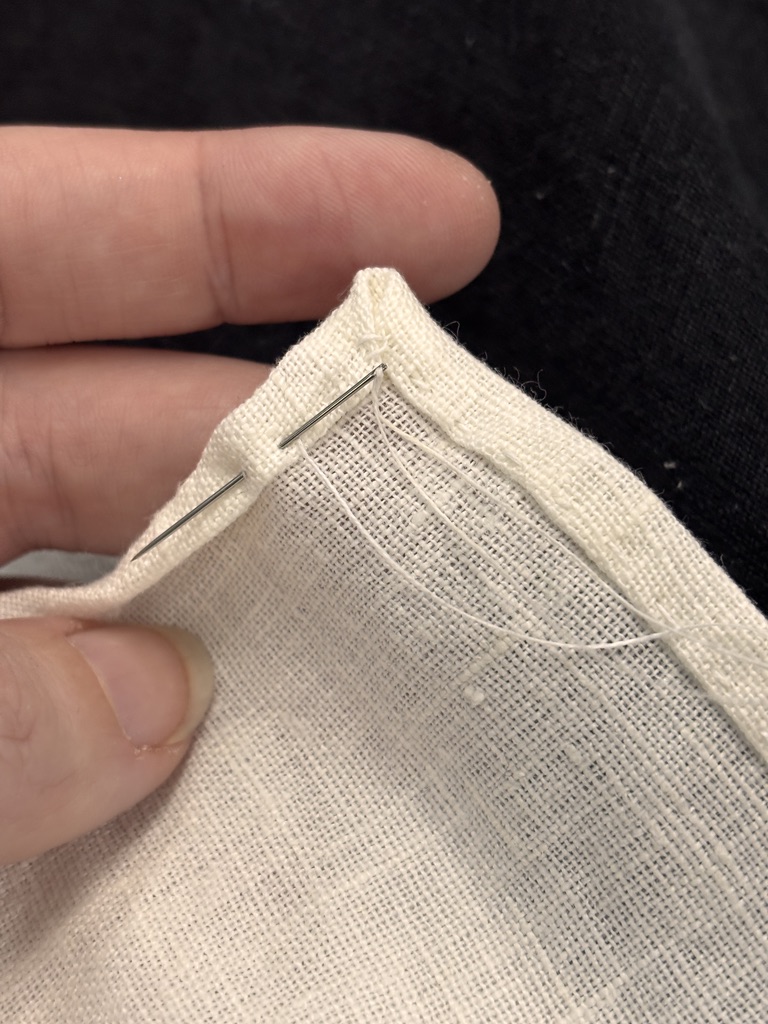
And because it matters to me (even if it matters to literally no one else), I mitered the corners. There’s something deeply satisfying about folding the corner in to make a clean diagonal edge and getting those hem angles to meet just right. It’s a tiny detail, but it makes the whole thing feel finished.
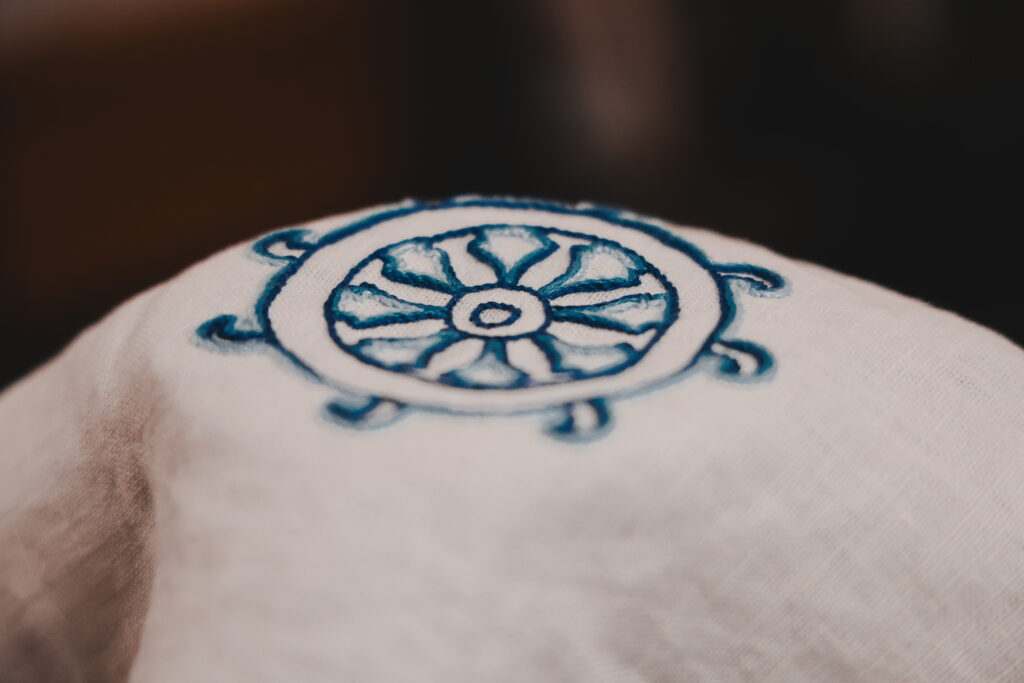
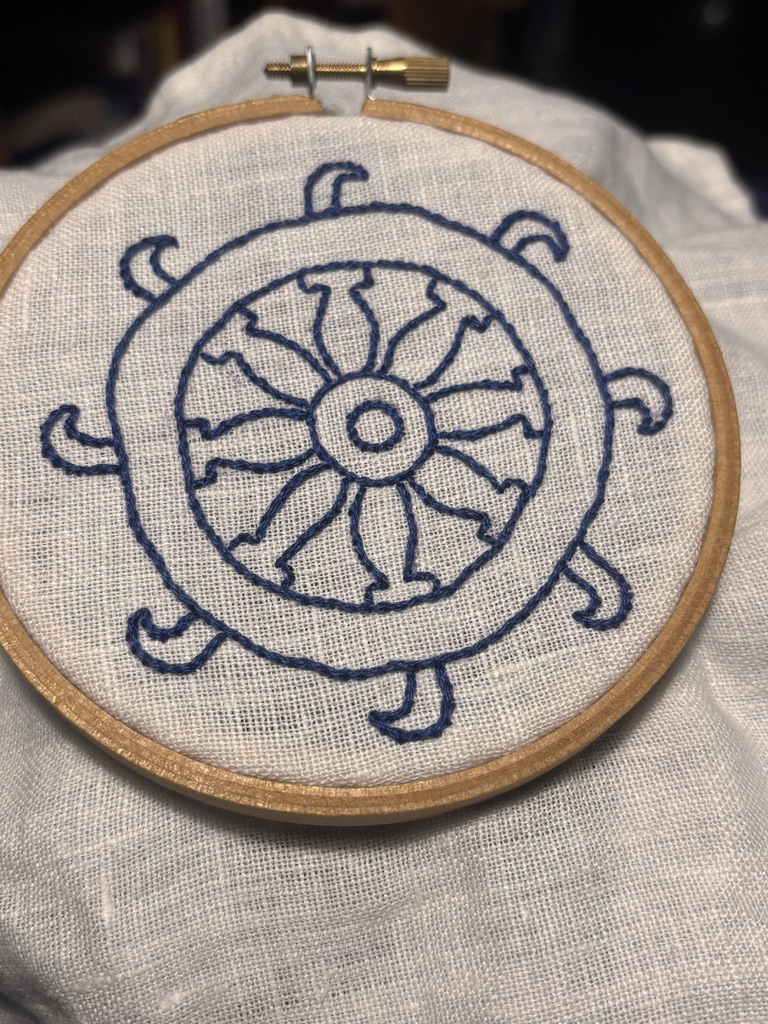
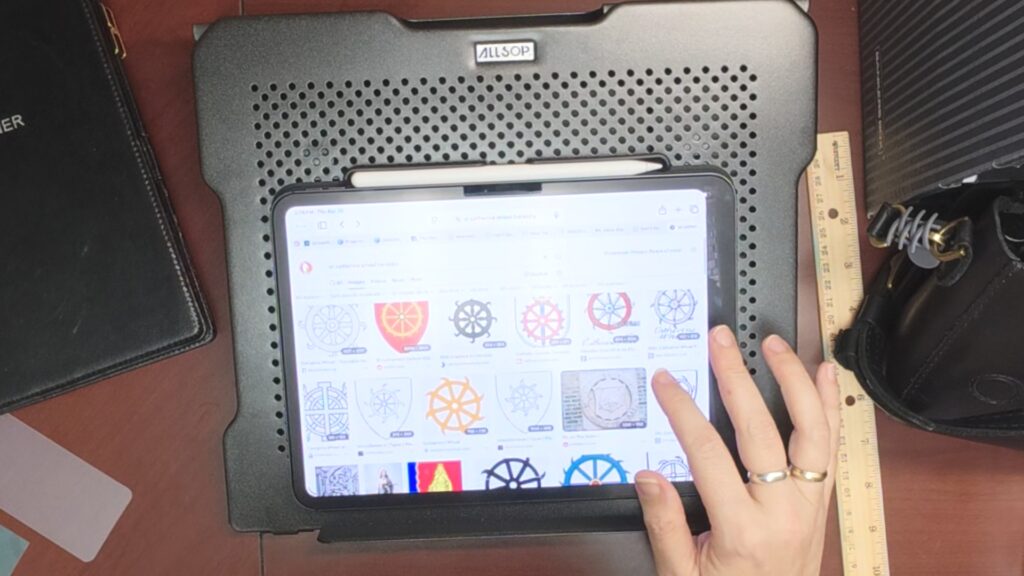
Kat’s heraldry includes St. Catherine wheels—an ideal round motif for a cup opening.
For tracing, I used my iPad as a light table. The key trick that kept me from constantly bumping the screen: once I had the design lined up under the fabric, I used Guided Access (in the Accessibility settings) to disable touch input. That way, nothing shifted mid-trace. To learn how to do this yourself, click here.
To find the center point, I folded the linen into quarters and finger-pressed the crease intersection, then centered the wheel on that point.
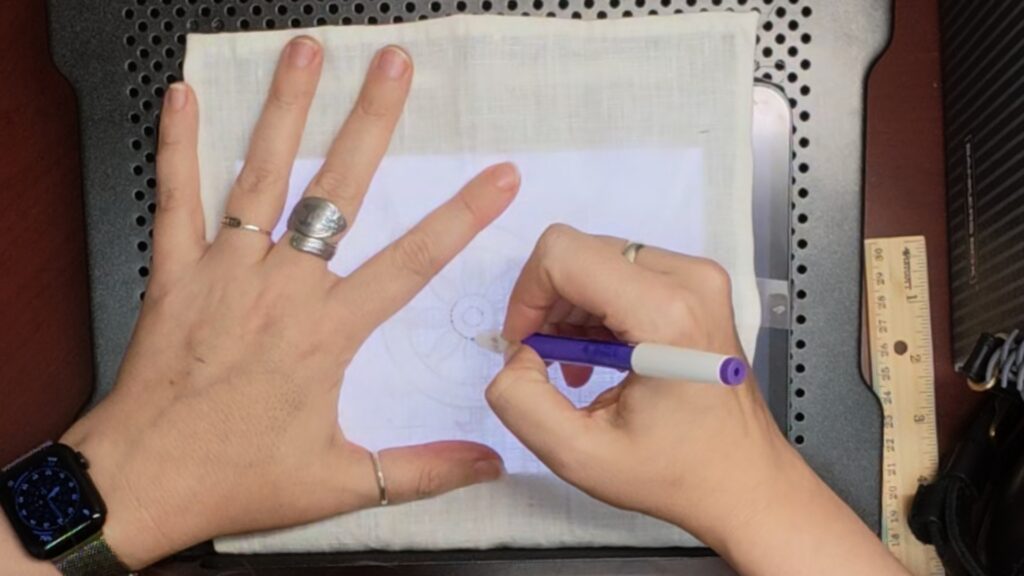
For marking, I used a friXion fine point marker (easy to remove later). Depending on the project, I’ve also used Micron pens for permanence or white gel pens on dark fabric.
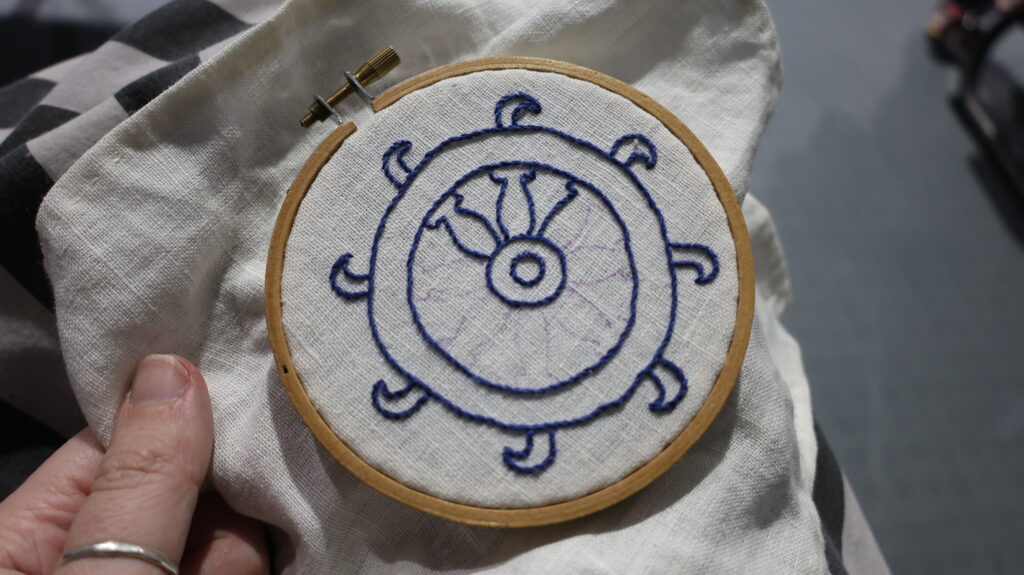
Kat’s heraldry has a blue ground with white wheels—but since my base fabric is white, I didn’t want to fill the whole background in blue. Instead, I worked a gradient: darker blues on the outer edge fading lighter toward the center, giving the wheel contrast without turning the whole piece into a full-coverage fill.
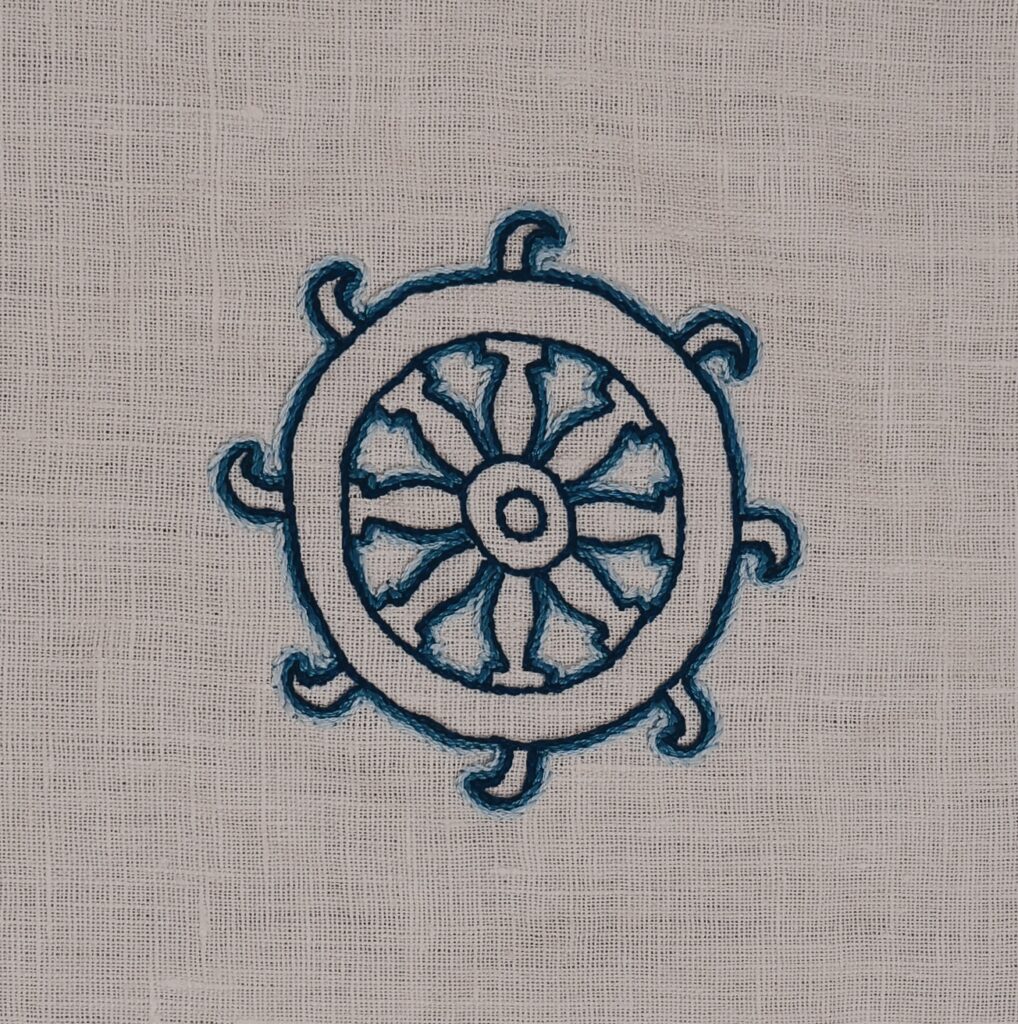
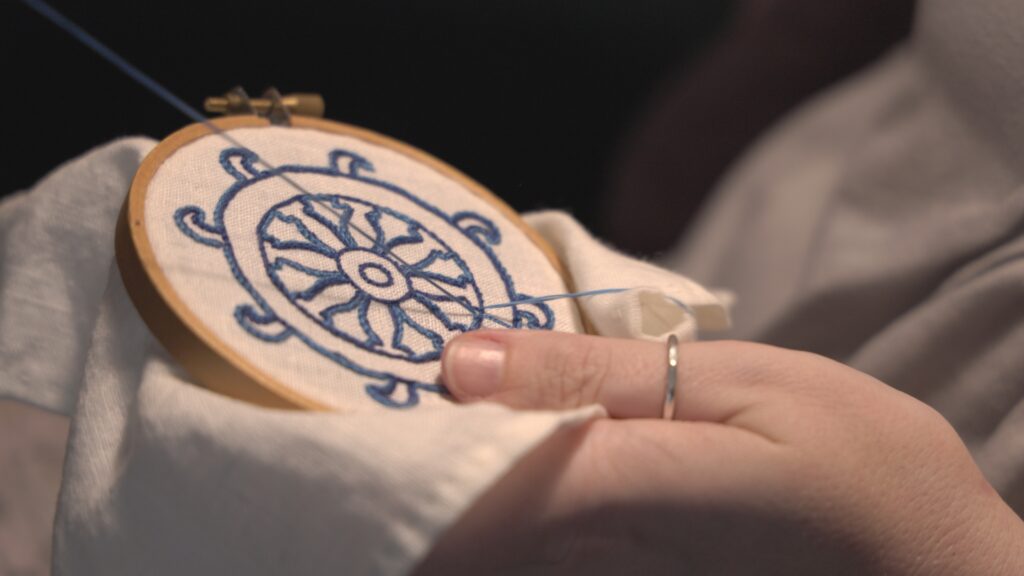
For crisp lines, I leaned on one of my favorite stitches: stem stitch.
Stem stitch is like backstitch’s slightly fancier cousin—each stitch is taken on the same side of the guideline, creating a smooth, rope-like line that’s great for outlines and dense areas. It’s strong, tidy, and very forgiving for commuter-crafting.
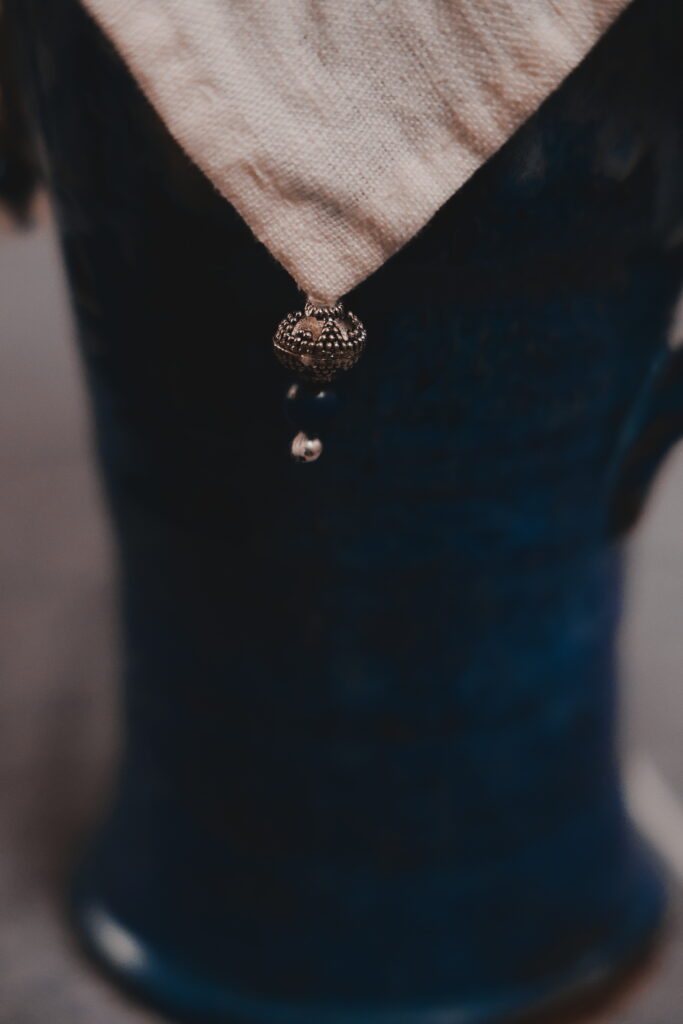
Once the embroidery was done, I added beads to the corners. This does two useful things: adds weight so the cover is less likely to lift in wind, and helps keep curious bugs out of whatever drink it’s protecting.
I used a mix of silver and blue beads to echo the heraldic colors.

To attach them, I sewed with doubled linen thread, secured on the underside. Then I strung three beads, passed back through the first two to form a loop, anchored it with a stitch, and repeated until the bead cluster was held in place by multiple strands.
The last touch is my favorite functional flourish: a security loop.
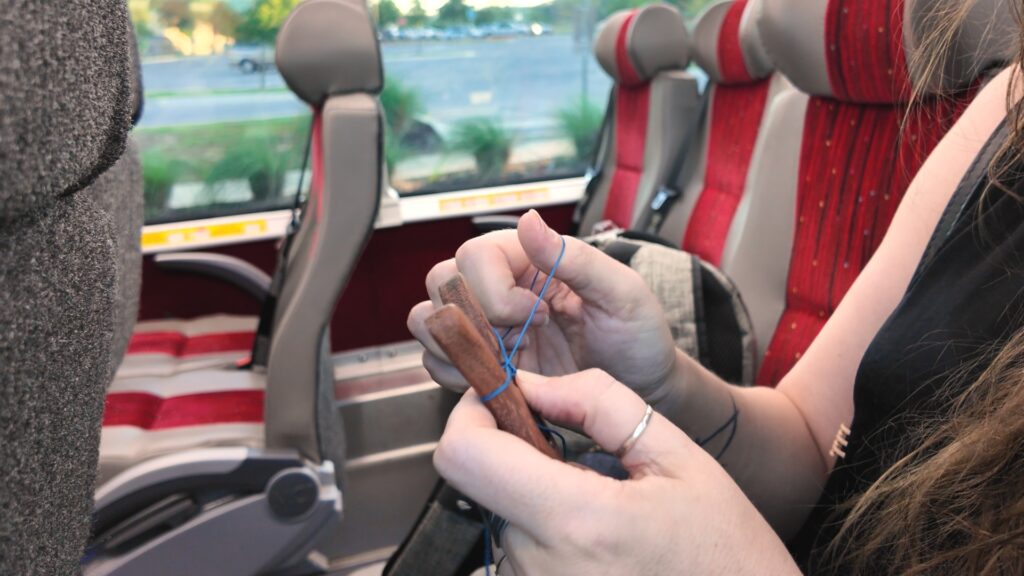
I luceted a short cord (about 3 inches), then folded one end into a loop just big enough to slip over the corner beads. I secured the loop by splitting the thread tails and weaving them back into the cord. The remaining tail sewed the whole piece to the underside of a corner.
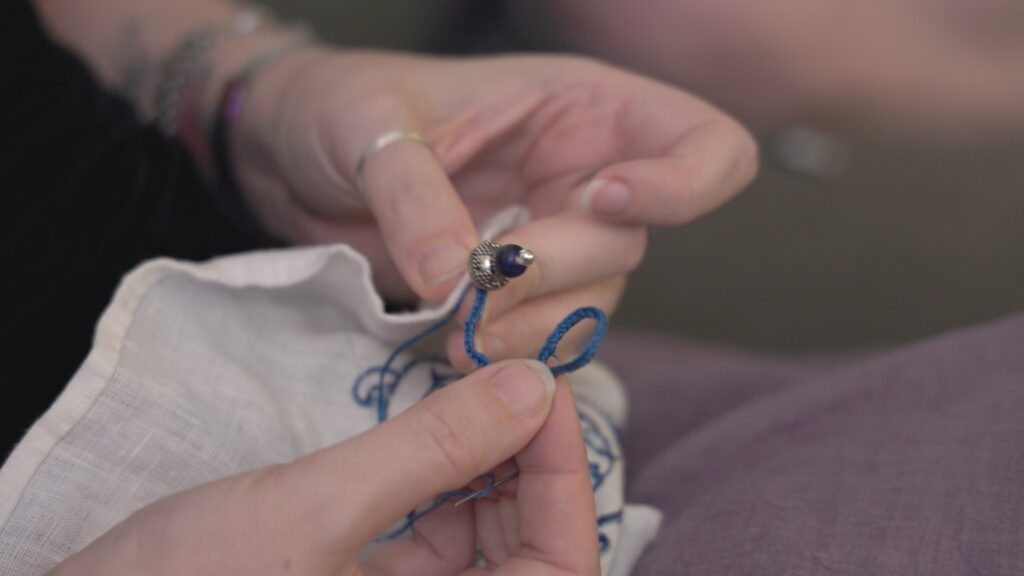
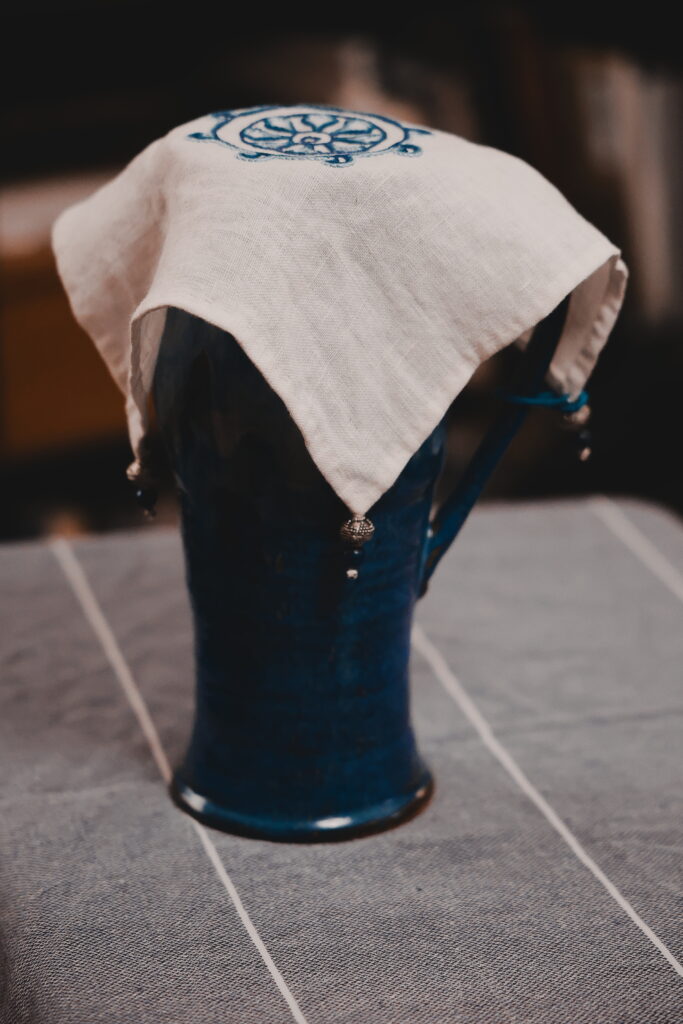
The loop can wrap around a goblet stem or a mug handle and then slip over the beads, keeping the cover snug.
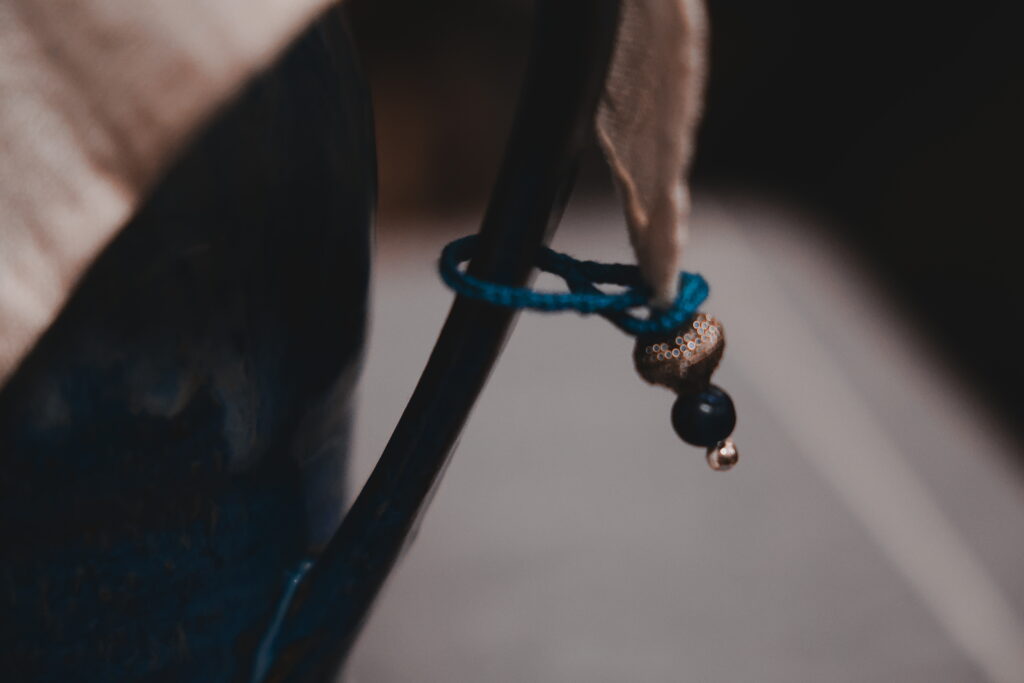
And then—voilà. A finished cup cover, stitched mostly in motion.
This was one of those pieces that felt like it carried more than thread. It carried a celebration for a friend, a way to reclaim a little time inside a hard schedule shift, and a reminder that “small” projects still count as real making.
If you’re in a season where your time comes in fragments—waiting rooms, commutes, lunch breaks—I hope this encourages you to pick a project that fits in your pocket and your life. A few stitches at a time adds up.