It snowed yesterday! It rarely does this at all in Texas, and almost never this much. I had to take advantage of the situation and get some photos of me in all my wool outerwear.
Category Archives: 14th Century
In Progress: New Red Hose
This weekend, and next week, I am from home on a trip. I hesitate to call it a vacation, as we are, this weekend, in Maryland for Edmund’s grandmother’s funeral (ave, Atlantia!). Next week we will be back on schedule for happy Thanksgiving visitation plans though, which should be more joyous.
One of the things
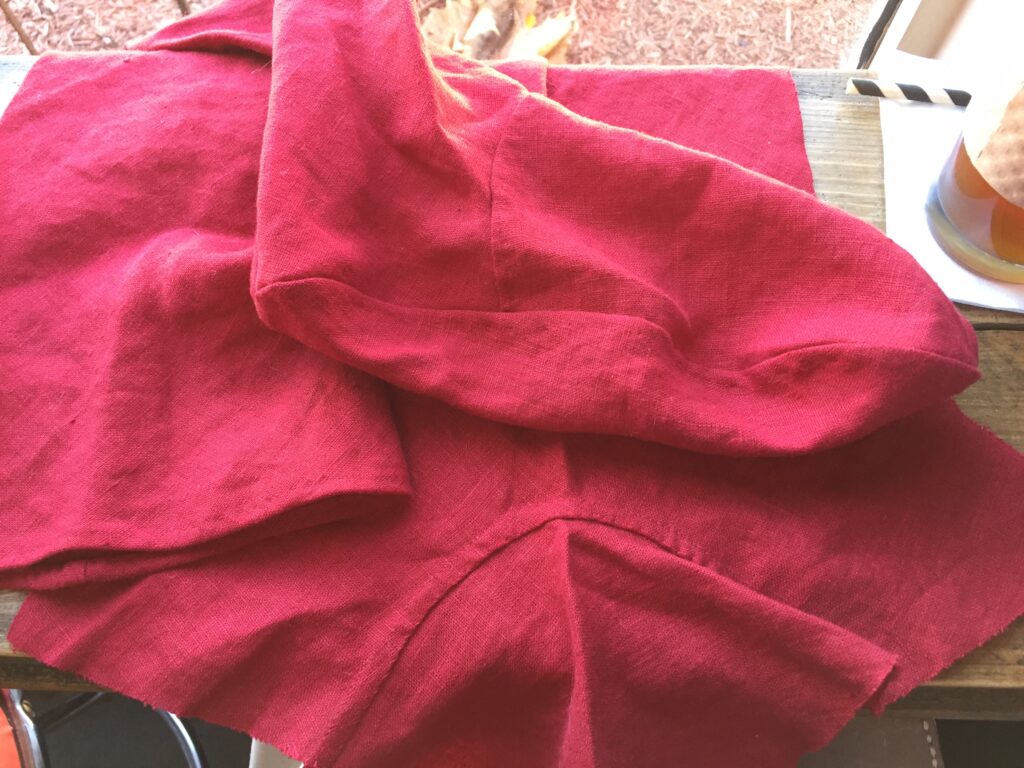
 I wanted to work on this year was the creation of some more foundational pieces for my wardrobe. Would you believe I only have one pair of hose? So on Monday, gearing up for a week and a half absence, I cut out two pairs of linen hose to handsew on the trip. Yeah, I’ve also had the hand sewing bug lately. I was going to make a woolen hood for a friend, but I didn’t have enough fabric. It will show up as a pair of warm sleeves instead, embroidered with some of the woolen embroidery thread I hand-dyed a while ago.
The first is this pair of lovely crimson hose (the other is a pair of tawny-ginger colored ones). I am sewing the long seams with a tiny backstitch for quickness and strength. Believe it or not, it’s actually just as quick for me to sew backstitch as running, and I find it’s a sturdier seam. I’m using Gutermann silk sewing thread and a short, skinny quilting between for a needle.
When the seams are finished, I flat fell them to keep the raw edges of the linen from unraveling. Having had a doublet I made completely fray apart at the seams, I am fanatical now about finishing techniques. I cut one side of the seam allowance down by half, and fold the taller side over it, and then fold flat and whip stitch it down. It makes for a really sturdy, strong seam.
The linen, cut on the bias, makes for a lovely flat seam, even along curved seams like the instep.
I mistakenly managed to flat fell one of the seams so that the “ugly” side of the backstitch shows, but I don’t think it’s going to structurally impact the way the hosen wears, so I’m not worried about it.
I’ve managed to finish one of the hosen so far (The top is hemmed with a running stitch; I forgot to grab a picture of it), and I’m looking forward to working on the next. I think my favorite part about these hose is that, combined with those garters I wove a while ago (that first picture shows the only other pair of hose I have, incidentally), they’re my colors!
German Brickwork Reliquary Box
Part the second! To start with, I used a paper mache box, like these ones, and cut off the top and bottom circles. I chose some silk I had in my stash; the colors don’t match, but since the original inspiration seemed to be cut from leftover scraps and pieces of re-used tapestry, I thought it was still in keeping with the overall aesthetic.
I used the tutorial from Åsa and Martin’s medieval blog as a guide. I stitched scraps of silk to the tops and bottoms of the box, and to thinner card stock circles. Then I stitched them together, right sides out, with a tiny whip-stitch.
Then I stitched the embroidered piece around the walls of the box, making sure it laid as smoothly as I could get it to, inside and out.
Yeah, the stitching? Not that pretty. But it’ll all be hidden!
For the lining, I took a strip of the peach silk and sewed it to one edge of the box. I tried to keep a clean line, but wasn’t every fussy about it, because I planned on covering the join with a braided ending.
Then I pinned the fabric taut to the other edge and sewed it down with a whipstitch, again being neat, but not overly fussy.
When both edged were sewn down, I turned the raw edge of the strip under and stitched it down. I was fussy about this seam, since it would be visible at the end.
I forgot to get pictures of how I sewed the bottom to the sides, sorry! It was kind of a pain in the butt, actually, but the process was simple enough; I just whip stitched them together.
I finished the edges of the top, the edge of the box, and around the bottom edge with Racaire’s braided sewn edging, which, it turns out, is really Matcheld’s.
I sewed the top to the sides of the box in two places, so that it would open easily but be stable and not floppy, as it was with just one connection point.
The bead closure is a purple lamp work bead I got as largesse from someone (I can’t remember their name; I’m sorry!), and the loop closure is a simple four-strand braid. I’m actually pretty proud of the structure of it. I sewed one end of the braid down into a loop, which I then pulled a longer loop of the loose braid through. So, to tighten the closure over the bead, you pull on the tassel.
The original box had a turk-head knot on the head of the tassel, but I confess it was beyond me. I have some silk gimp to practice with, so I may add one later, but I left it off for now.
And as an epilogue? This box and my documentation (which will be up soon on the documentation page) helped me tie for first place at the Bjornsborg Trials of St Anthony, a saint-themed event in San Antonio.
German Brickwork Embroidery
Ever since I dyed some of my silk tram, I’ve been thinking that I should do some brickwork embroidery. The long parallel stitches really show how beautiful the shine of the silk can be. I didn’t want to do a pouch, though. Everyone does pouches, and while I’m okay with that, I wanted to do something different. Enter Helene, who reminded me of a saint-themed event that was coming up, and suggested I make a reliquary box like this one from Medieval Arts & Crafts. She was also kind enough to suggest one of the patterns she charted, that was suitable for something horizontal, like the sides of a box.
I chose to use the cochineal (incidentally, my dyeing source says that the reason the cochineal turned out so dark-purple was that it must have leeched out some of the iron from the jar lid), onion-skin, and undyed silk for the colors. I ran out of the purple and decided to finish it off with some teal-ish silk I made by over dyeing indigo with onion-skin.
The finished embroidery. Next time, putting the box together.
Knitting for Ants
I have been informed several times in the last couple of days that I am knitting sweaters for ants. They will be the most well-dressed ants in the kingdom, and we will have ant fashion week and fashion shows and everything.
(For the record, these are size 6-0, that’s 000000, needles; they’re .75mm. The swatch worked out to 17 stitches and 24 rows per inch.)
Queen’s Champion, May 2013
I’m getting better. I actually brought my camera this time. I’m trying to get better about actually taking pictures. Especially because my Mother’s Day present was a new 16 gig memory card for my camera. I’m heading out to a Scribal Symposium in June, and I wanted to make sure I had enough space for three days worth of pictures. Anyway, yeah, I took some pictures. Of friends:
And of Edmund and I (recognize the apron?):
And us and Poppet. I love how urchin-like she looks in this picture:
Some of our friends:
The babies even played nicely together:
The big kids didn’t hurt each other too badly:
There was jousting. The Knight of Flowers (any George RR Martin fans out there?) took the field:
I think most of the kids had this expression on their faces when I tried taking pictures:
Feast was delicious:
Even though my husband is incapable of making a serious face for the camera.
Tell you what, though. His doublet looked damn fine.
Scattered Embroidery News
I finished my smocked apron! It’s fantastically beautiful, and I love it. It’s really a perfect low-effort, high-impact object. It’s made of weaver’s cloth and DMC floss, so I’m not overly precious about getting it messy. It only took a yard, so the materials aren’t expensive. I made it in less than a week, working on it in the evenings, so the time investment isn’t very large either. And the smocking was totally easy. I’m seriously considering making some more to give out as largesse.
I went to the Austin Stitchery Guild’s event, Stitchin’ Happy, with a friend. I got this adorably macabre needle keeper there. I totally want to make my own now; it’s terribly useful.
And I started work on a new pretty project. It’s the latest in my attempt to give all the Queens of Ansteorra a pretty cup-cover.
Wordless Wednesday: Smocking Sample
Blue Cotehardie
Guess who can make a cotehardie in ten days or less. That’s right: me!
February 12: Making a toile of the bodice. Haven’t done this in a while, after all.
February 13: Cutting out the fabric. Yes, that would be me marking on the right side of the fabric. Some days you just make stupid mistakes.
February 18: Machine sewing is finished. Trying it on for fit. It’s a little looser than my other dresses because I wanted to be able to layer it over a long-sleeved cote.
February 20: So close to being done with the buttonholes. They’re sewn with black thread because all of the navy embroidery thread I had was too saturated.
February 20: Buttonholes finished. Checking the overlap for button placement.
February 21: All done except for the skirt hem. Which I will sew at 11:30 the night before the event, thus making a mortal enemy of my poor, long-suffering downstairs neighbor.
February 23: At the Tourney! I love this dress; it’s so comfy.
And a better shot of the dress on my. Photo credit: Ledona McGowan
Sable Thistle
Yesterday was the Tourney of the Smitten Heart, down in San Antonio. The Baron and Baroness played the part of Lord Lust and Lady Love, and they held contests to see which was mightier. I went sans Bebe and husband, and with no real responsibilities, other than to make sure a couple of A&S entries got set up. It was a lot of fun, even if I was twitching for the first hour or so, thinking I was not doing something that I should have been doing.
Then came court. They announced the winners of the contests, and determined which was mightier (it was a tie), and then started handing out the non-tourney-specific awards. And they called my name. Turns out, Their Majesties decided to give me a Sable Thistle in Knitting. As my Baroness put it, if I were to put it on a CV or resume, it would be a regional recognition. Which is pretty fantastic. I admit to being floored; I had no idea it was coming.
(Photo credits: Elisava Iliescue)
(Photo credits: Amata d’Arezzo)