Medieval Snow Day
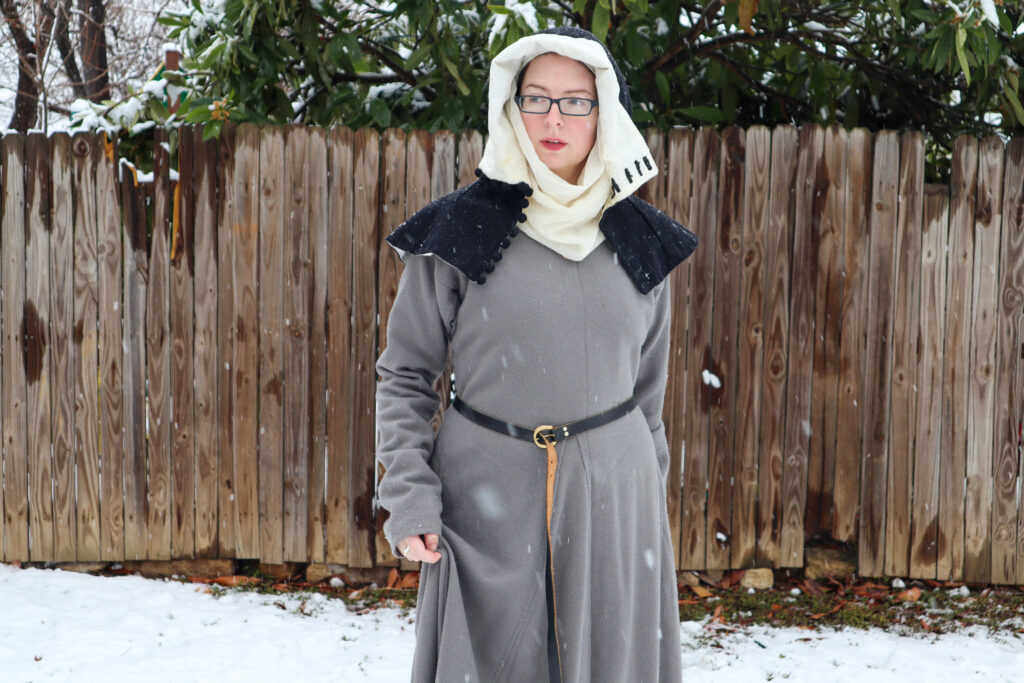
It snowed yesterday! It rarely does this at all in Texas, and almost never this much. I had to take advantage of the situation and get some photos of me in all my wool outerwear.
It snowed yesterday! It rarely does this at all in Texas, and almost never this much. I had to take advantage of the situation and get some photos of me in all my wool outerwear.
Not exactly SCA related, but sort of tangentially appropriate. My friend Cecilie works at Sherwood Forest Faire here in Austin, and she commissioned me to make her a 12th century bliaut with pendant sleeves, like this one that Racaire made. She bought a lovely blue linen in herringbone twill, and instead of taking time away
In Progress: Cecilie’s Bliaut Read More »
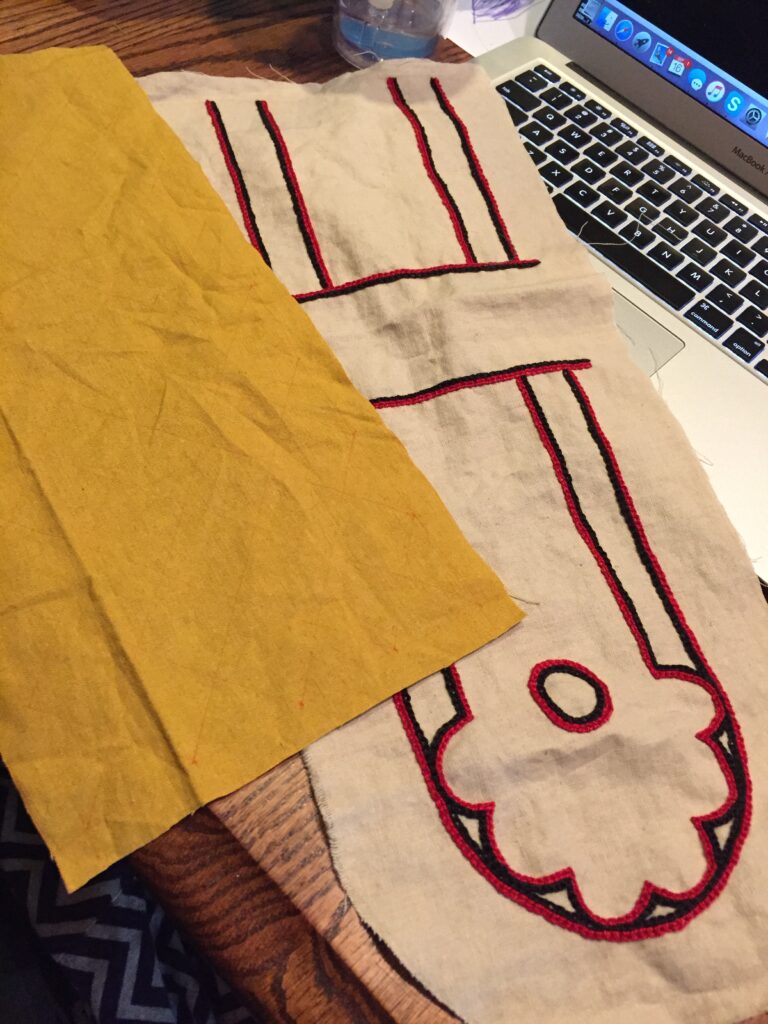
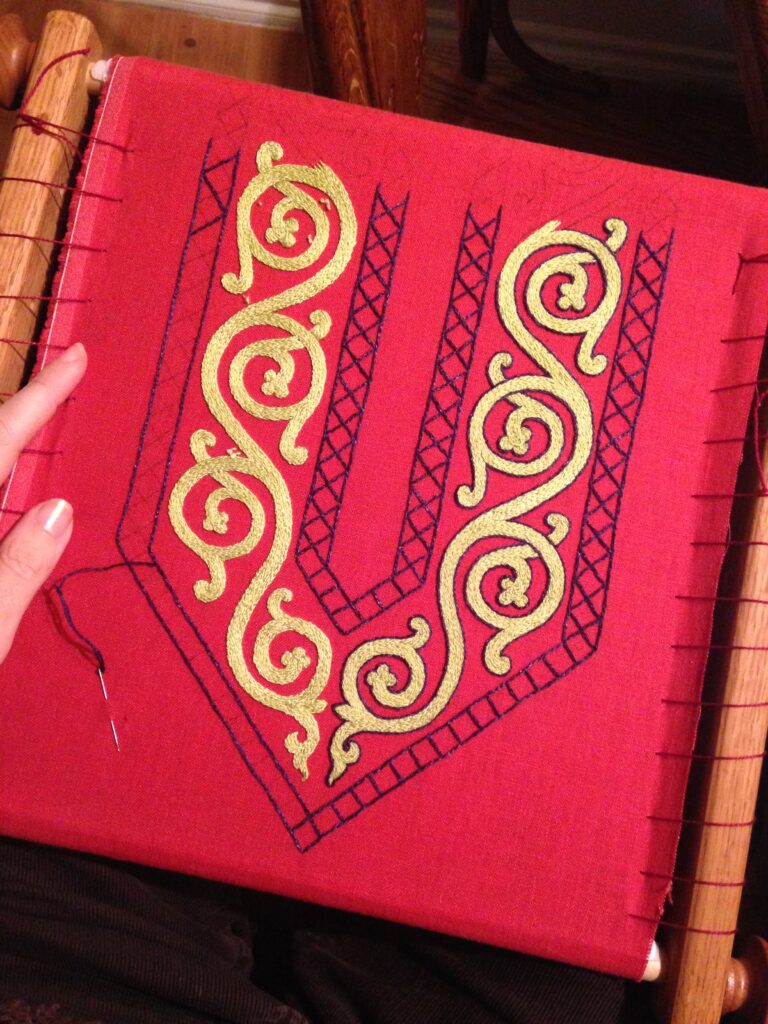
When last we left our project, I’d finished up the embroidery on the first pouch, and I’d sketched out the diamonds on the yellow linen (the last of the linen from my Byzantine dress [have I seriously not blogged that either?! What is WRONG with me?], except for what I’ve held back for lining the
Cantigas de Santa Maria Pouches, Part Two Read More »
For a while now, I’ve been wanting a six board chest, in which to keep my feast gear and other sundries at events. I have resigned to myself to the fact that I don’t have time to do all the things I want to do. And even more importantly, I don’t have to do the
Cantigas de Santa Maria Pouches, Part One Read More »
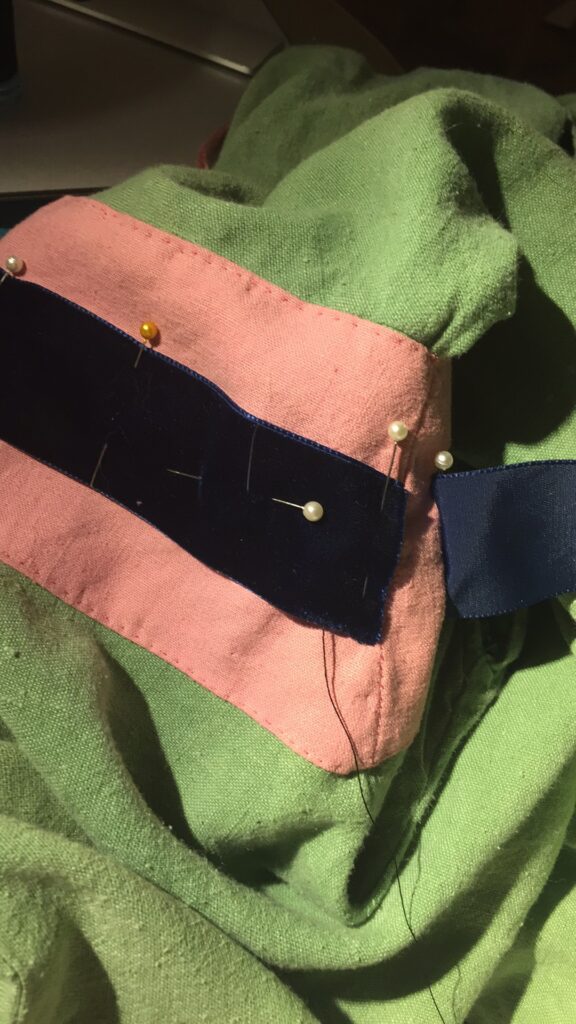
A friend of mine, Mariana, gave me a whole bunch of her old garb. Which is so sweet, but seeing as she’s more than half a foot shorter than me, there needed to be some modifications made. This particular piece, a Spanish bliaut, is a lovely shade of sea-glass green, with navy blue velvet ribbon trim. I
Bliaut Modifications Read More »
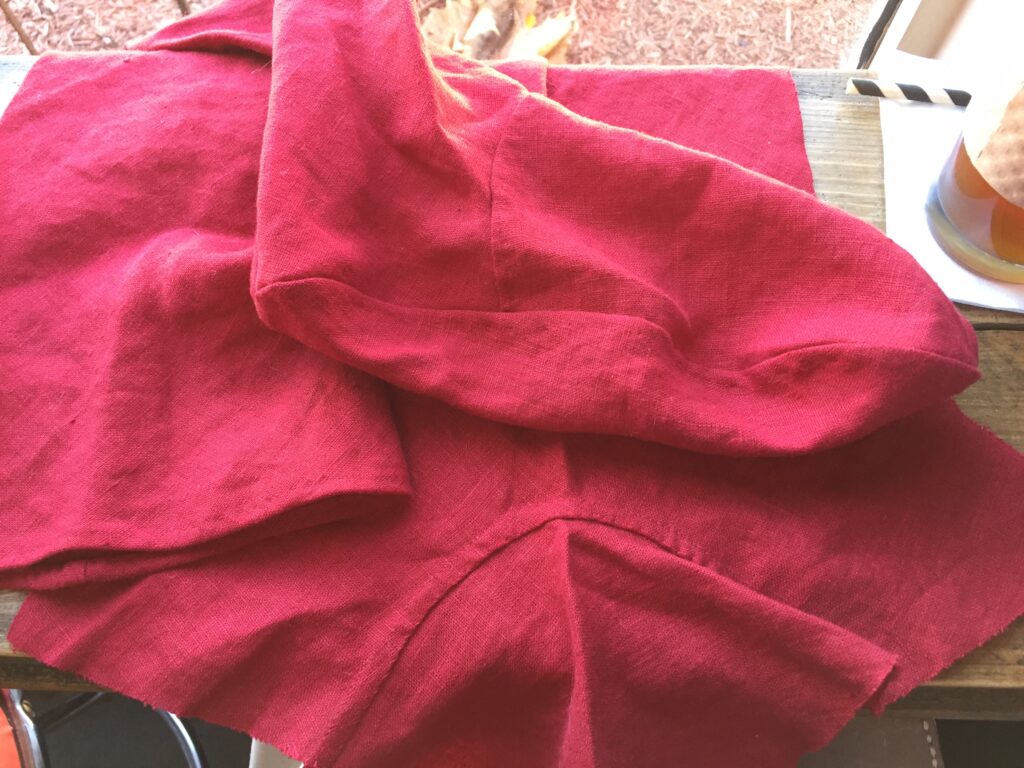
This weekend, and next week, I am from home on a trip. I hesitate to call it a vacation, as we are, this weekend, in Maryland for Edmund’s grandmother’s funeral (ave, Atlantia!). Next week we will be back on schedule for happy Thanksgiving visitation plans though, which should be more joyous. One of the things
In Progress: New Red Hose Read More »
Have I really not blogged about this beyond showing some samples? I know I’ve talked about it a BUNCH on the Facebook page (good reason to follow me there; I tend to post small updates on things that don’t make it to the blog as finished posts). It’s about time I did, then, since I’ve
In Progress: Bliaut Collar Read More »
I admit it, I’m a bit of a magpie. I love pretty, shiny things. Jewelry, goldwork embroidery, silk, you name it. Some of my favorite gifts and largesse have been veil pins, which feel my shiny addiction nicely. A local bead store was going out of business recently, and had a ton of items on
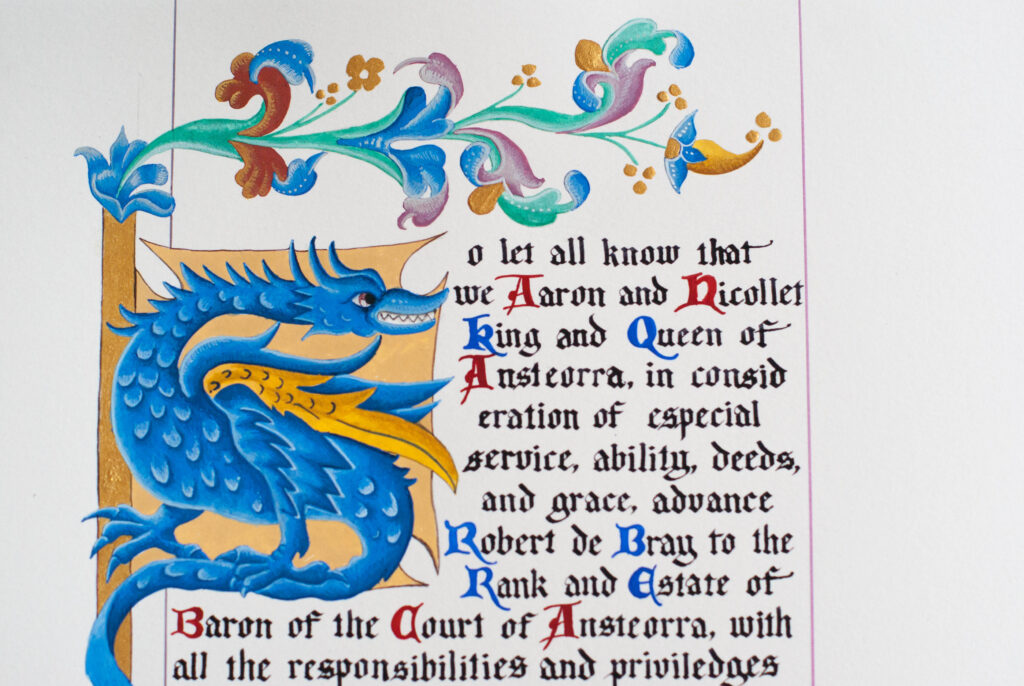
The scroll is finished, and the title was given this Saturday during court, so I can talk about it now. It’s a Court Barony scroll for Robert de Bray, and it was requested that I include a European dragon of some sort and his coat of arms, all in a vaguely 16th century style. I
Super Secret Scroll: Finished! Read More »
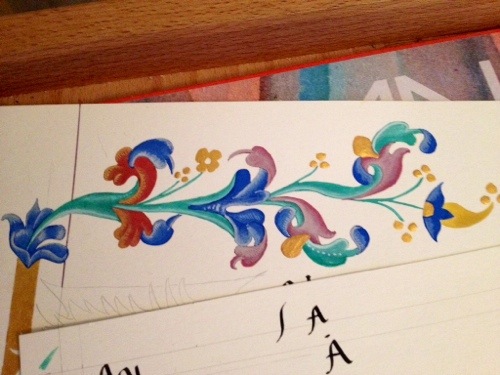
I’m finished with the calligraphy part of the scroll, and have moved on the the painting portion. Here is the top border almost finished. The rest will have to wait til tomorrow in better light.
Secret Scroll Border Read More »