In Progress: Cecilie’s Bliaut

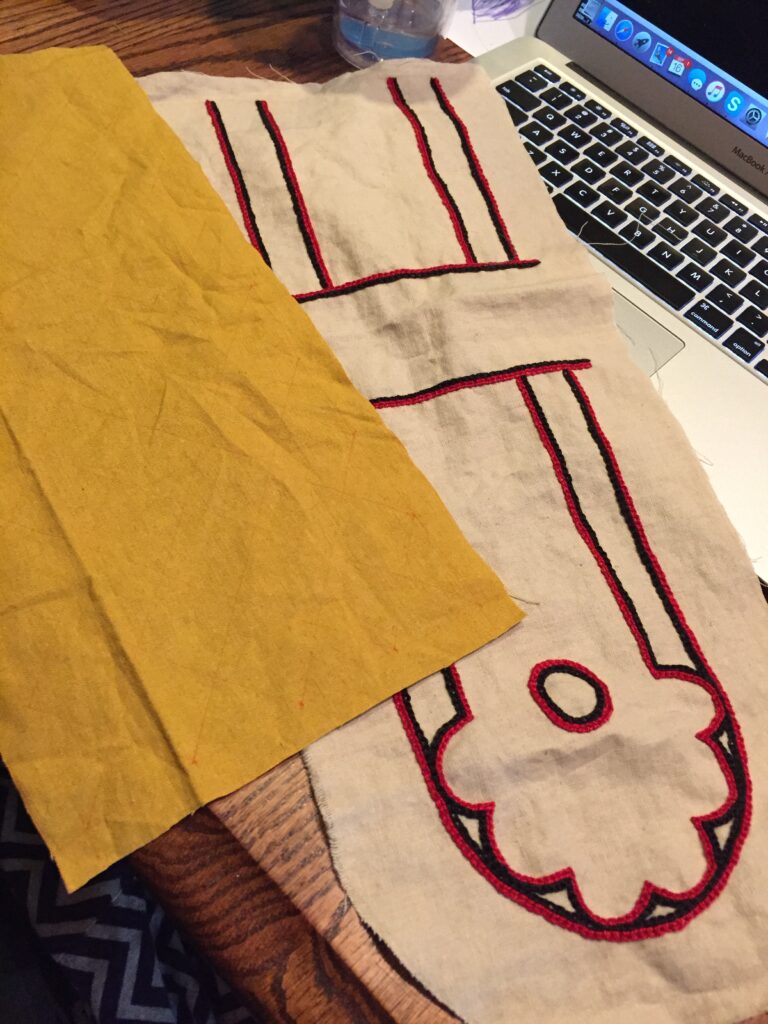
Not exactly SCA related, but sort of tangentially appropriate. My friend Cecilie works at Sherwood Forest Faire here in Austin, and she commissioned me to make her a 12th century bliaut with pendant sleeves, like this one that Racaire made. She bought a lovely blue linen in herringbone twill, and instead of taking time away from her body schedule to embroider the collar and armbands, opted to go with a beautiful blue and gold synthetic brocade.
It's that time of year again.

Although polyester brocade is famously difficult to work with, it was in fact easier than this ridiculously slithery linen. SO MUCH BIAS STRETCH. I was lucky to have vertical lines where the herringbone meets to be able to cut accurately one way. (Bran thinks the whole thing is much better served as a cat bed anyway).
Cecilie's Bliaut The look of this fabric is so gorgeous though. It’s worth it. Almost. I finally learnt the trick of cutting it, which was to make all the vertical cuts and swish the linen kind of up in the air, letting the cut edge settle on its own parallel to the straight edge of my table, and then cut the horizontal lines after that. I am SO GLAD for rectangular construction in bliauts. Cecilie's Bliaut

The neckline is a slit faced in brocade and then topstitched (well-behaved it might be, but this brocade still doesn’t want to iron flat) down. I’d thought about couching some faux gold thread over the top stitching, but it disappears against that lux fabric.

Cecilie's Bliaut Current progress: Sleeves and gussets attached, neckline faced, side gores added. I still have to add the armbands at the elbow seam, but I want to make sure I don’t have to shorten the sleeves first. Then the center front and back gores will be inserted and the sides of the torso will be taken in while the dress is on Cecilie, to ensure the best fit. I’m excited to see it on her!

Cecilie's Bliaut

Cantigas de Santa Maria Pouches, Part Two

When last we left our project, I’d finished up the embroidery on the first pouch, and I’d sketched out the diamonds on the yellow linen (the last of the linen from my Byzantine dress [have I seriously not blogged that either?! What is WRONG with me?], except for what I’ve held back for lining the cuffs, whenever they get finished).  . Digression aside, I basically marked equal spaces along each edge and connected them, leaving me with a lovely diamond grid to embroider.   . I only did one line of chain stitch. Since the overall motif was much denser than the other pouch, I didn’t think it needed bolder lines. Here it is all finished, ready to be sewn up.  . I lined both pouches (but forgot the take pictures) with coordinating linen by laying the pieces right sides together and machine sewing at the seam allowances. I clipped the curve of the cover flap and then turned them right side out and pressed, not unlike the Double Eagle Pouch I made some time ago. But that braided finish is a pain in the neck, and I kind of hate doing it, no matter how fantastic it looks.  . So instead, what I decided to so was whipstitch the pouches closed with a thread that matches the outer fabric, so as not to be so noticeable, and then just do a decorative chainstitch along the edges of the join, to mimic the braid stitch without all the fuss. I did this on the dragon pouch too (technically after these were done, but I did blog that one first), because I really liked the effect.  Finishing up the edges of the pouch with chain stitch. I added long shoulder straps in the lining fabric, as shown in the manuscripts. The strap ends were doubled over to create a smaller footprint when attached to the pouches. The red ones were sewn to the back, and the blue ones were inserted into the pouch and sewn to the lining. I’m really pleased with the way they came out and I want to make a million more of them.  The embroidered pouches are all finished!

And the chest that Juan Carlos made for me? It’s beautiful! IMG_1714

Cantigas de Santa Maria Pouches, Part One

For a while now, I’ve been wanting a six board chest, in which to keep my feast gear and other sundries at events. I have resigned to myself to the fact that I don’t have time to do all the things I want to do. And even more importantly, I don’t have to do the things I don’t have any interest in doing, even when the outcome of those activities is a thing I want or need. I am not a wood worker, and I don’t really want to cultivate those skills right now. So I put out a call-out to my reenactment friends, to see if any of them would be interested in doing an artisan trade.

Master Juan Carlos, a Laurel in my local Barony, let me know that he’d be willing to make a chest for me (I’d already seen and admired one that he made for himself, so I was excited) in exchange for a couple of embroidered pouches similar to those from the Cantigas de Santa Maria. I looked through the illuminations he sent me and settled on two designs. One like this, with a pouch flap and a neat rounded motif…

cantiga-maria-1

And one like the yellow ones below, with no flap and a diamond design.  cantiga-maria-2 I picked out my colors (red and black on natural linen, and indigo blue on yellow) and sketched out my designs on the fabric. I decided to go with DMC Pearl Cotton, since I have a metric ton of it, it launders well (I try not to use delicate fibers unless I know who they are going to), and makes a nice bold clean line.
New handwork project, for Master Juan Carlos.

I decided on chain stitch, as it makes the boldest line with a single row of stitching, and the designs are all linear. I also started off using a hoop, but gave it up as I found it was more trouble than it was worth. This red and black design has the flap motif incorporated into the back; the pouch flap will fold over at the top of that line, halfway through the circle.
Working on my embroidery art trade tonight.

The pouch laid out, so you can see basically what it will look like when it’s all folded up.
. . . I finished up all the red, and then began the black, just embroidering another line right next to the one that had already been done.
.

I really like how they look together; so bold and graphic.
.

All finished up with the first embroidery, about to start on the second. Part two will be the second pouch embroidery and how I made them all up. Tune in Monday!

.

Court Barony Scroll for Sabina

I was commissioned by a friend to make, in secret, a Court Barony scroll for his wife, Sabina. He had some very specific ideas for what he wanted it to look like. He wanted a very long scroll, that could be unfolded (and unfolded and unfolded). He wanted a genealogy, going back to the line’s founder, and ending in Sabina. Her persona is Italian, so he wanted a very Borgia-like family, plagued by misfortune and calamity (some of it wrought by other family members).

f7e47262267654c87e8c8f13c267c49f

Looking around, I found a manuscript, the Genealogy of Christ by Peter of Poitiers (ca. 1130-1205, which is way early for a Venetian courtesan, but who’s telling this story?!) that we both liked the bold, graphic nature of.

Sabina's Court Barony Scroll

I started off by measuring the longest sheet of paper I had, Somerset printmaking paper. It turned out to be 30″ long. I settled on making the scroll 11″ wide, to make it look even longer proportionally. I taped two pieces of graph paper together and marked off 1.5″ margins all around. Then I marked out the central line and circles where I thought they’d look pleasing. It should be noted that this is not meant to be an accurate family tree, even for her persona. It’s meant to be a prop that looks good, and is accidentally a legal document.

Sabina's Court Barony Scroll

The design was inked to allow for easier tracing via lightbox.

Sabina's Court Barony Scroll

Using my patented Giant Natural Lightbox technique (ie: taping the papers to my french door and tracing the lines), I transferred my design onto the final paper. You may not that I didn’t do any “wet-fits,” or making sure that the calligraphy would fit into the allotted space. If you look at the original manuscript, the text is rather jammed in around the lineage. I wanted the same look. I did, however, leave what I was pretty sure would be enough space at the bottom for the actual award text.

Sabina's Court Barony Scroll

I inked the initial lines in red. Originally I used brazilwood, but I think perhaps some remaining iron-gall ink in my nib oxidized with it and instead of a lovely light pinkish-red, it darkens to a pretty (but incorrect) purple. Instead, I used a red india ink.

Sabina's Court Barony Scroll

You can see my first serious screw up. I traced the line with my ruler upside down and the ink bled underneath it. I love my first screw-up of a project. It keeps me from being too precious about the rest of it.

Sabina's Court Barony Scroll

And for a mistake, it’s easily fixed by scraping the top layer of the paper off with my scalpel and burnishing the fuzzy spot that’s left. The green inner circles were drawn with watered down gouache, and the faces were sketched in (very loosely, this is not a time for perfectionism) and then inked with my favorite Scribal Workshop Iron Gall ink.

Sabina's Court Barony Scroll

Portraits are all finished! That’s Sabina at the bottom right. It kinda looks like her, too.

Sabina's Court Barony Scroll

Side by side comparisons of the design paper and the in-progress scroll. All the painting is finished there; I’m particularly proud of the central stripe. It’s so lovely and graphic.  Sabina's Court Barony Scroll

A close-up of the portraits. They got a small bit of shading after this picture; I thought they looked a bit too flat, even for this style.

Sabina's Court Barony Scroll

Names and causes of death filled in. Like any good Venetian family, lots of poison, lots of war, lots of killing each other in underhanded ways. Even one “defenestration,” which is being thrown out a window. Sabina's Court Barony Scroll

And with the text and marginalia written in. The actual award text is in English, while the marginalia is in Latin. I wanted the writing to be there, but not to detract from the actual award. Some of the latin bits are Bible verses on the importance of a loving family, and some are notes about how horrified the poor scribes are about how “unlucky” this family has been.  Sabina's Court Barony Scroll

If you notice, the last seven heirs died in a fire (started as they attempted to kill each other to obtain the estate). This family tree and the coronet she was given were the only surviving artifacts. Part of my commission was to make sure that the scroll looked like it had been rescued from a fire. I aged the paper with various washes of watercolor, and added some bloody handprints and splatters. I also painted the paws of my more tolerant cat and had him walk over the back of the scroll. He was very patient and only cried a little bit when I washed the excess paint off him.
Sabina's Court Barony Scroll

I added some wine rings on th front (such careless scribes!) and some more blood splatters and sooty handprints. I was going to make those in charcoal, but it wasn’t wanting to cooperate, so I just used dark grey gouache instead. Then I took a candle and burned the edges, and made soot marks.
Sabina's Court Barony Scroll

The one place I deliberately (mostly) avoided was the legal text. I didn’t want that getting smudged or burned beyond recognition. The hole in th middle accidentally forms a nice portrait window if you fold it over right, too.  Sabina's Court Barony Scroll The scroll all folded up. I actually have some hanging seals to attach, but I thought it’d be easier to do it after the hoopla in court was done. 
Sabina's Court Barony Scroll A clean version of the scroll text, before clean-up. I misspelled her name horribly, but it’s a relatively easy fix.

Photo by Katy Thompson. Used with permission. Photo by Katy Thompson. Used with permission.

And Her Excellency Sabina with her scroll!

Super Secret Scroll: Finished!

The scroll is finished, and the title was given this Saturday during court, so I can talk about it now. It’s a Court Barony scroll for Robert de Bray, and it was requested that I include a European dragon of some sort and his coat of arms, all in a vaguely 16th century style. I went through Pinterest looking for suitable medieval depictions of dragons and found this page from a German manuscript (c 1463-1476, so a little early, but I can’t resist a good versal).

Court Barony

I moved the verbal up to the top of the page, to start the words, and made the tail spiral down around the gold bar. I also lengthened the top border to go all the way to the other margin. I calligraphed the words in my standard blacklister gothic hand, but replaced the capitols with painted letters in blue and red, to match the manuscript.
Court Barony

I didn’t use period pigments on this scroll, because of the time consideration. I had two weeks from commission to delivery, and I knew I wasn’t going to be able to re-do it if I ran into a problem. I used store-bought gouache, and the Majestic Gold pigment from Griffin Dyeworks. 
Court Barony

I wanted to include this picture of the coat-of-arms with a ruler for scale. The little dragon is an inch and a half tall. The details were painted with an insanely tiny liner brush. I am very proud of this wee guy, and the whole scroll, for that matter. 
Court Barony

Infallible Spell: Completed

Since this piece has been received (and approved!) by the commissioner, I can talk about this now. My friend Mel wanted a small piece showing the Infallible Spell for Beauty from CS Lewis’ Voyage of the Dawn Treader.

Only the top part of the text was written in the book. The other words are crappily translated nonsense-Latin based on the spell performed in the movie version. That’s okay, though; it’s the Harry Potter principle. Spells don’t need to be real Latin, they just have to sound it.

Infallible Spell

I based this little piece (it’s 5″x7″) on an English Psalter from the latter half of the 15th century.  I had a really great time doing the whitework and shading. I used pigments from Griffin Dyeworks and Scribal Workshop. The gold is an imitation shell-gold (it’s bronze powder, I think) mixed with gum arabic and a little bit of glair.
Infallible Spell

I wanted there to be a representation of Aslan on the page, both because there was one mentioned in the book (he snarls at Lucy for contemplating using the spell) and as a reminder that even if you were use it, he would love you anyway. Infallible Spell

An Infallible Spell

Quick preview for a project I’ve been working on. Firstly, I’ve gotten a bunch of period, or period-like (no lead-white, please!) pigments. I’ve been putting them all in their own little seashells, mixed up with gum arabic and glair (an egg-white binder) and making a reference sheet for later.

Today is about mixing pigments and making a reference sheet. And remember how I said that the white-work versal I made got me a commission? Here’s a sneak-peek. It’s an interpretation of the Infallible Spell for Beauty from CS Lewis’ Voyage of the Dawn Treader. Wee calligraphy commission for Mel. Nearly finished!