Part the second! To start with, I used a paper mache box, like these ones, and cut off the top and bottom circles. I chose some silk I had in my stash; the colors don’t match, but since the original inspiration seemed to be cut from leftover scraps and pieces of re-used tapestry, I thought it was still in keeping with the overall aesthetic.
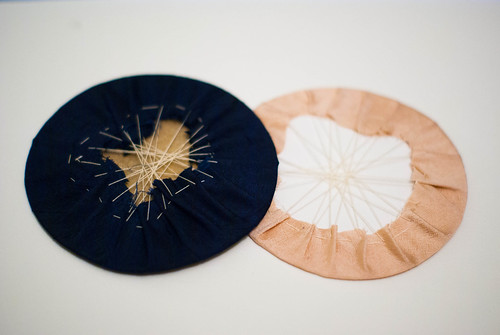
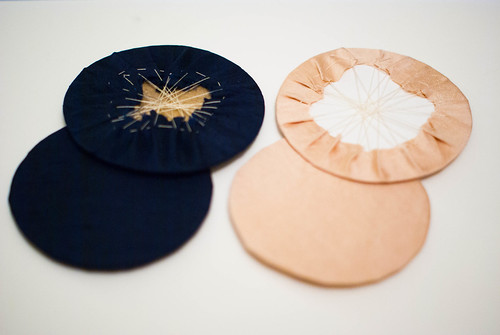 I used the tutorial from Åsa and Martin’s medieval blog as a guide. I stitched scraps of silk to the tops and bottoms of the box, and to thinner card stock circles. Then I stitched them together, right sides out, with a tiny whip-stitch.
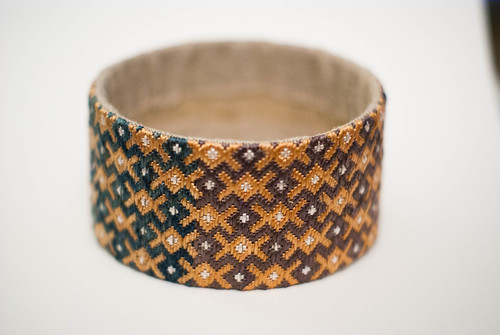
 Then I stitched the embroidered piece around the walls of the box, making sure it laid as smoothly as I could get it to, inside and out.
 Yeah, the stitching? Not that pretty. But it’ll all be hidden!
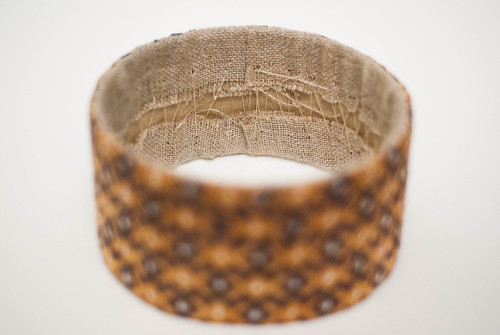
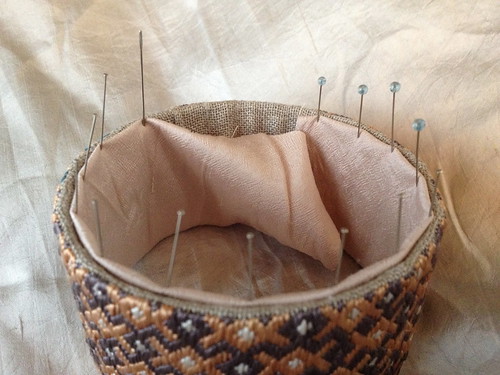
For the lining, I took a strip of the peach silk and sewed it to one edge of the box. I tried to keep a clean line, but wasn’t every fussy about it, because I planned on covering the join with a braided ending.
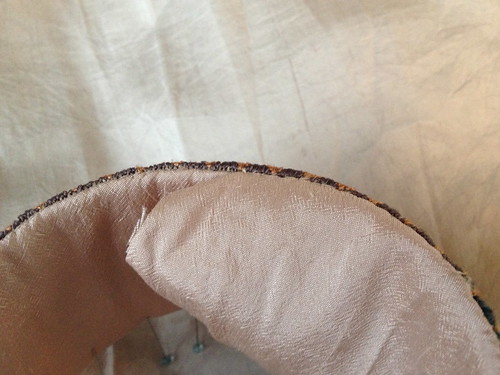
Then I pinned the fabric taut to the other edge and sewed it down with a whipstitch, again being neat, but not overly fussy.
When both edged were sewn down, I turned the raw edge of the strip under and stitched it down. I was fussy about this seam, since it would be visible at the end.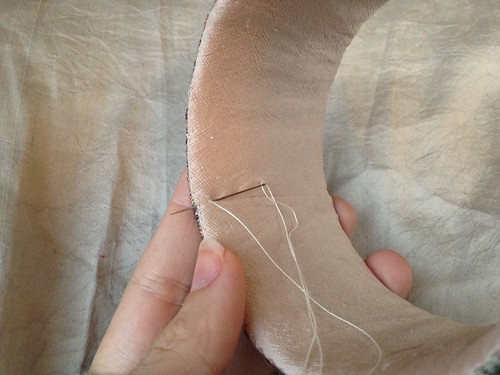 I forgot to get pictures of how I sewed the bottom to the sides, sorry! It was kind of a pain in the butt, actually, but the process was simple enough; I just whip stitched them together.
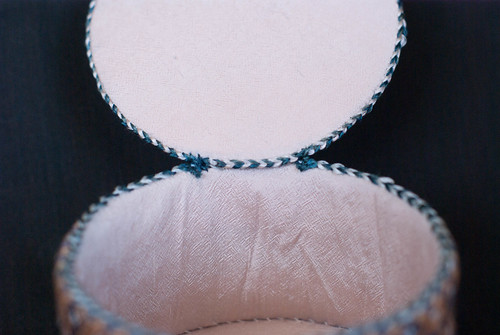
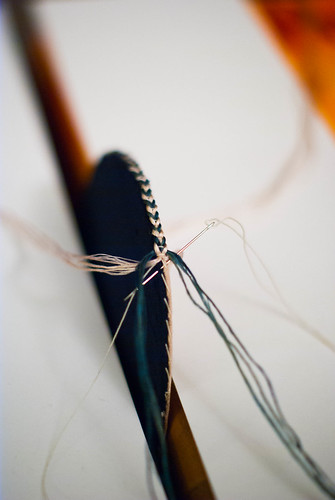
I finished the edges of the top, the edge of the box, and around the bottom edge with Racaire’s braided sewn edging, which, it turns out, is really Matcheld’s.
I sewed the top to the sides of the box in two places, so that it would open easily but be stable and not floppy, as it was with just one connection point.
 The bead closure is a purple lamp work bead I got as largesse from someone (I can’t remember their name; I’m sorry!), and the loop closure is a simple four-strand braid. I’m actually pretty proud of the structure of it. I sewed one end of the braid down into a loop, which I then pulled a longer loop of the loose braid through. So, to tighten the closure over the bead, you pull on the tassel.
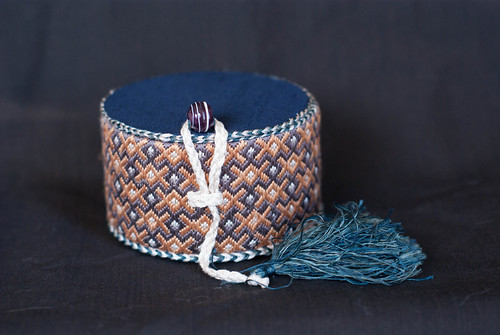 The original box had a turk-head knot on the head of the tassel, but I confess it was beyond me. I have some silk gimp to practice with, so I may add one later, but I left it off for now.
 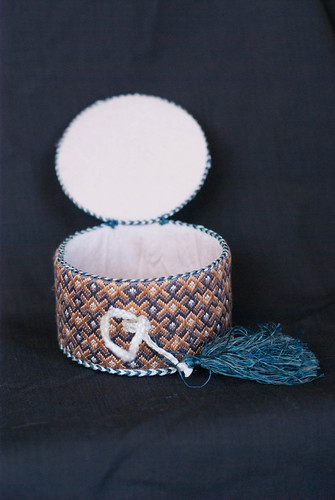 And as an epilogue? This box and my documentation (which will be up soon on the documentation page) helped me tie for first place at the Bjornsborg Trials of St Anthony, a saint-themed event in San Antonio.

it looks very nice 🙂
PS: *lol* I never pretended that it is “my” braided sewn edging – just sayin’ 😉 …though I really like to use it 🙂
…but I don’t repeat the sources for my inspiration over and over again in every of my postings where I use special techniques…