I’ve had a lot of people interested in how I transfer my patterns to fabric for embroidery. I use a technique (one that’s completely period, actually!) called pricking and pouncing. Basically, you poke holes in paper to make a design template, then shake colored powder on the design. When you lift the template, it gives you a series of dots to connect, and you can reuse the template later.
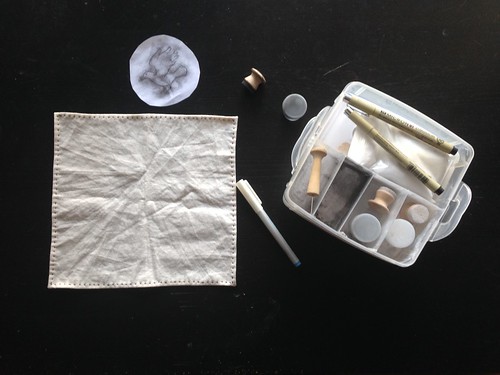
First we start by gathering our materials. I have a whole kit there, which goes to show how often I do this. I’m going to be making a cup cover with my newly registered badge on it. I have a template for the design made already, so I’ll be demonstrating how to prick a design with something else.
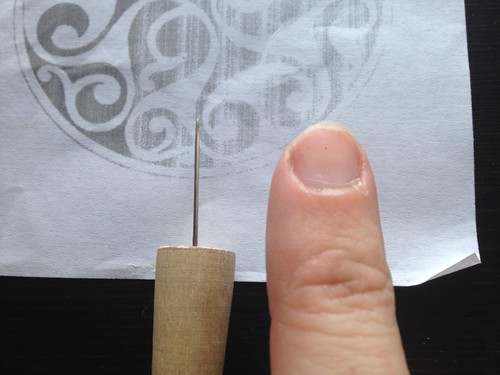
To make my templates, I use plain printer paper. It’s sturdy enough to hold up to the pouncing, and it’s easy to get designs on there. I’ve also used tracing paper and that works fine as well. My tiny awl is made from a relatively large sewing needle I glued into a hole I drilled in a peg I got at a local craft store. My Laurel made a handle from Fimo clay. Whatever’s clever, you just don’t want to be gripping a tiny-diameter thing for that long.
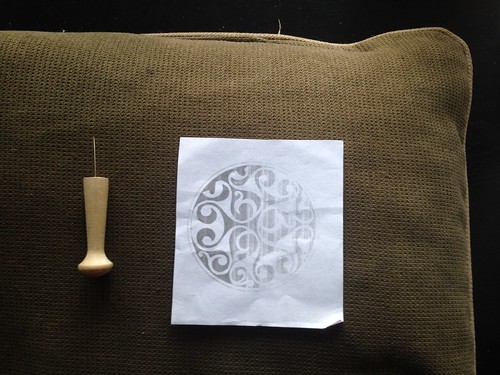
To be able to poke holes deeply enough, I like to rest the template on something with some thickness that won’t be damaged by a needle poking at it repeatedly. I have a pretty handwoven piece of cloth that I sometimes use, but mostly, I grab a couch cushion and use that instead.
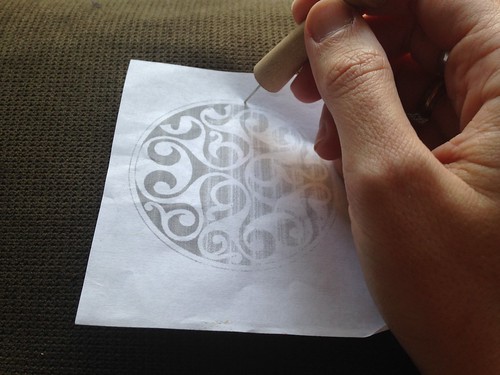
Make sure that you poke the needle far enouh in tha it makes a fair sized hole. If the pricks are too small, the powder won’t fall through and the design won’t show up on the ground.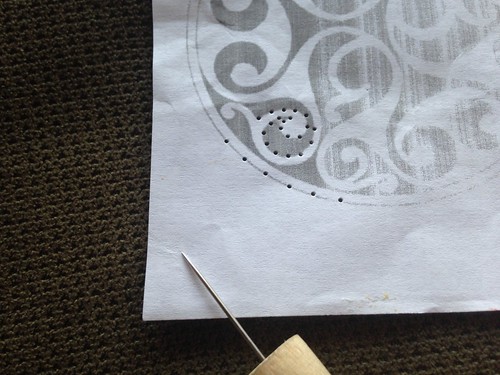
Here I’ve pricked a tiny part of this design to illustrate a couple of things. First, you want to make sure that you make a hole in every corner of the design. You want to mark where the lines change directions to have the most accurate design possible. Second, around tight curves, make the dots closer together. This will give you, again, the most accurate line you can get. Three, on shallower curves, or straight lines, you can space the dots out further, as I did along the outer circle there. You don’t need as many points to act as a guideline in that case.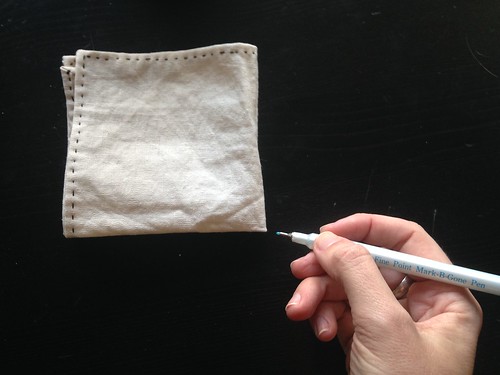
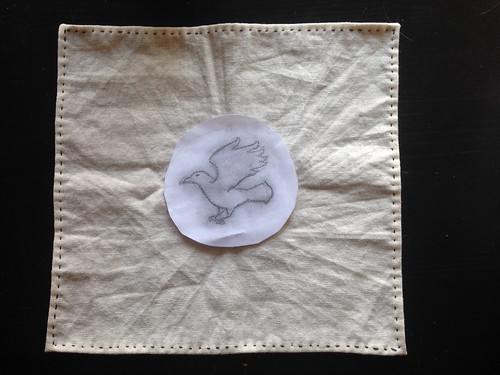
I folded my material in quarters to find the center, which I marked with a disappearing marker. Not strictly necessary in this case, but next time the embroidery night might not cover the dot. Better safe than sorry.
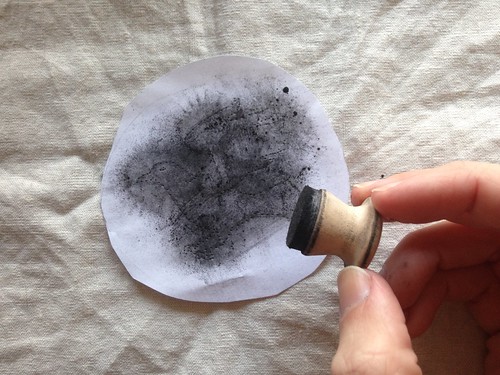
The template goes in the middle there, and I hold it down with one hand while I pounce with the other.
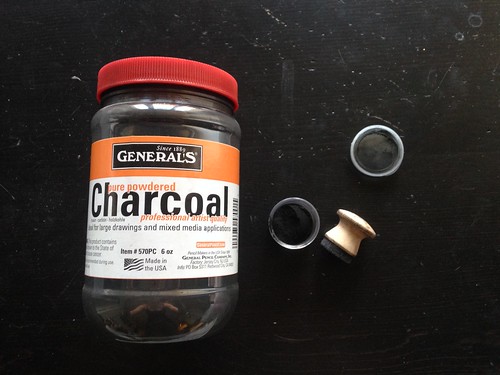
Pouncing supplies. I got charcoal powder from an art supply store. Graphite powder works well, too, but isn’t period. For dark colored fabrics, I use pool chalk, which I found at a sporting goods store. All of these are also available at Amazon, too. The pouncer is a wooden knob with one of those carpet dots you put on the bottoms of chairs to protect floors stuck on it. That stuff and the little plastic containers for the powders were obtained from a craft store.
Get a little powder on the pouncer and kind of tap it against the template, or rub it in small circles over the design. You want to make sure you hit the whole thing, while holding the paper still so you don’t get a fuzzy image because it’s shifted.
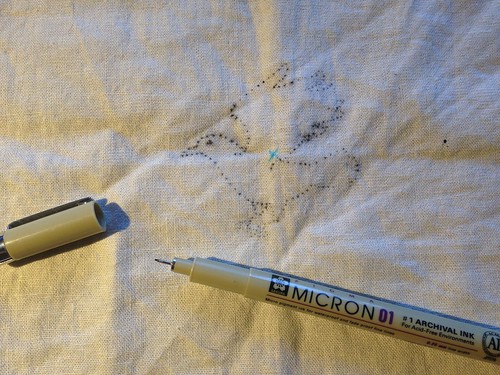
When you take up the template, you should have a pretty clear design. The powder will rub off pretty easily, though, so you’ll want to connect the dots before stitching. I use a Micron 01 pen. It gives me a nice thin line, and is archival so won’t bleed. 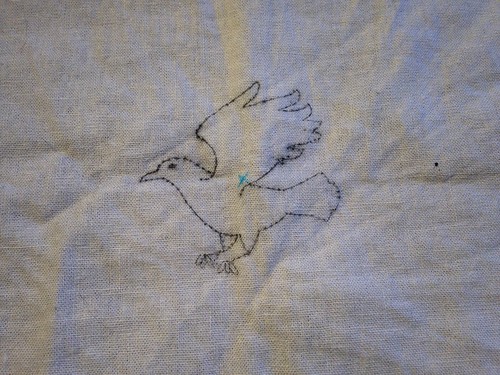
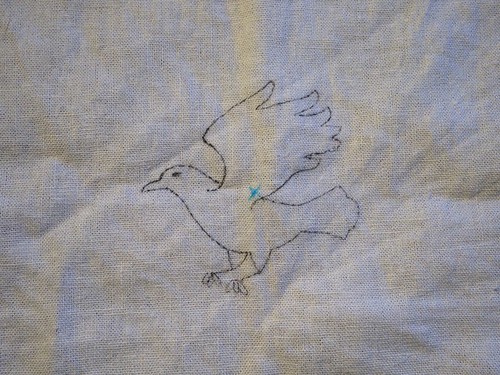
Keep your template at hand for reference; especially for the fiddly bits. When you’re done connecting the dots, shake the powder off. I usually whack the material against my leg a couple of times, as if I was beating dust out of a rug. And when you’re done, voila!
Ready to start embroidering!
For dark cloth, I use the white chalk for pounce, and connect the dots with either white gel pen, or thinned out white acrylic paint and a tiny brush.
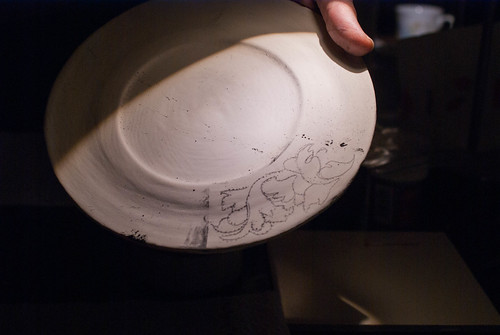
The technique being used to transfer a design to a piece of pottery before being painted. Please let me know if this has been useful, or if I need to clarify ayting. Good luck!


I have a couple of those foam sheets kids do craft sheets that I use for the background for prick-and-pounce, and for embossing. Pool chalk is a good idea. I’ve used talcum powder before, but the chalk would be less spready!
Pingback: In Progress: Bliaut Collar | Opus Elenae
Pingback: 2015 Wrap Up | Opus Elenae